Happy Wednesday! Embossing paste can be fun but intimidating for some people. Today’s tutorial shows a quick and easy way to incorporate embossing paste to your project, without a big mess. Added dimensions and fun textures will give WOW results to any card you create. Video tutorial below shows some important tips when using embossing powers along with some fun techniques you can try.
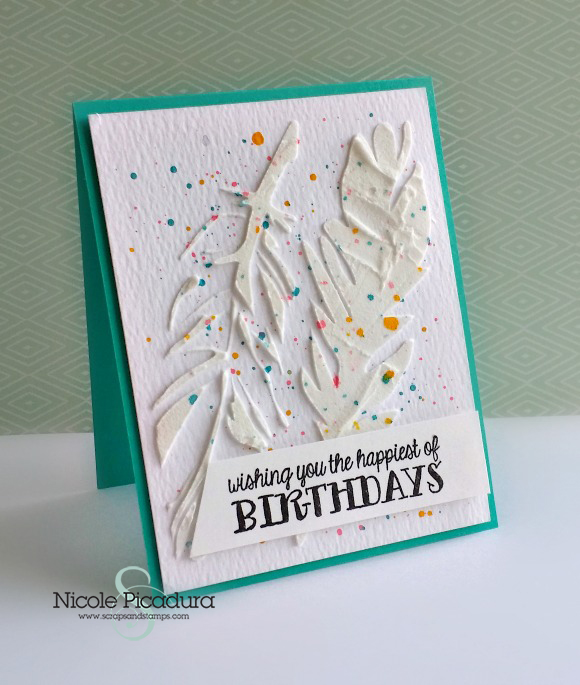
Feathers became my recent favorite designs to use on projects – The Crafter’s Workshops Mini Feather Stencil is super fun to work with. Use the whole image to dress up the whole card front, or use a partial image to give fun patterns in the background. TCW offers lots of stencils that are fun – they also have 12×12 size stencils that are perfect for scrapbooking!
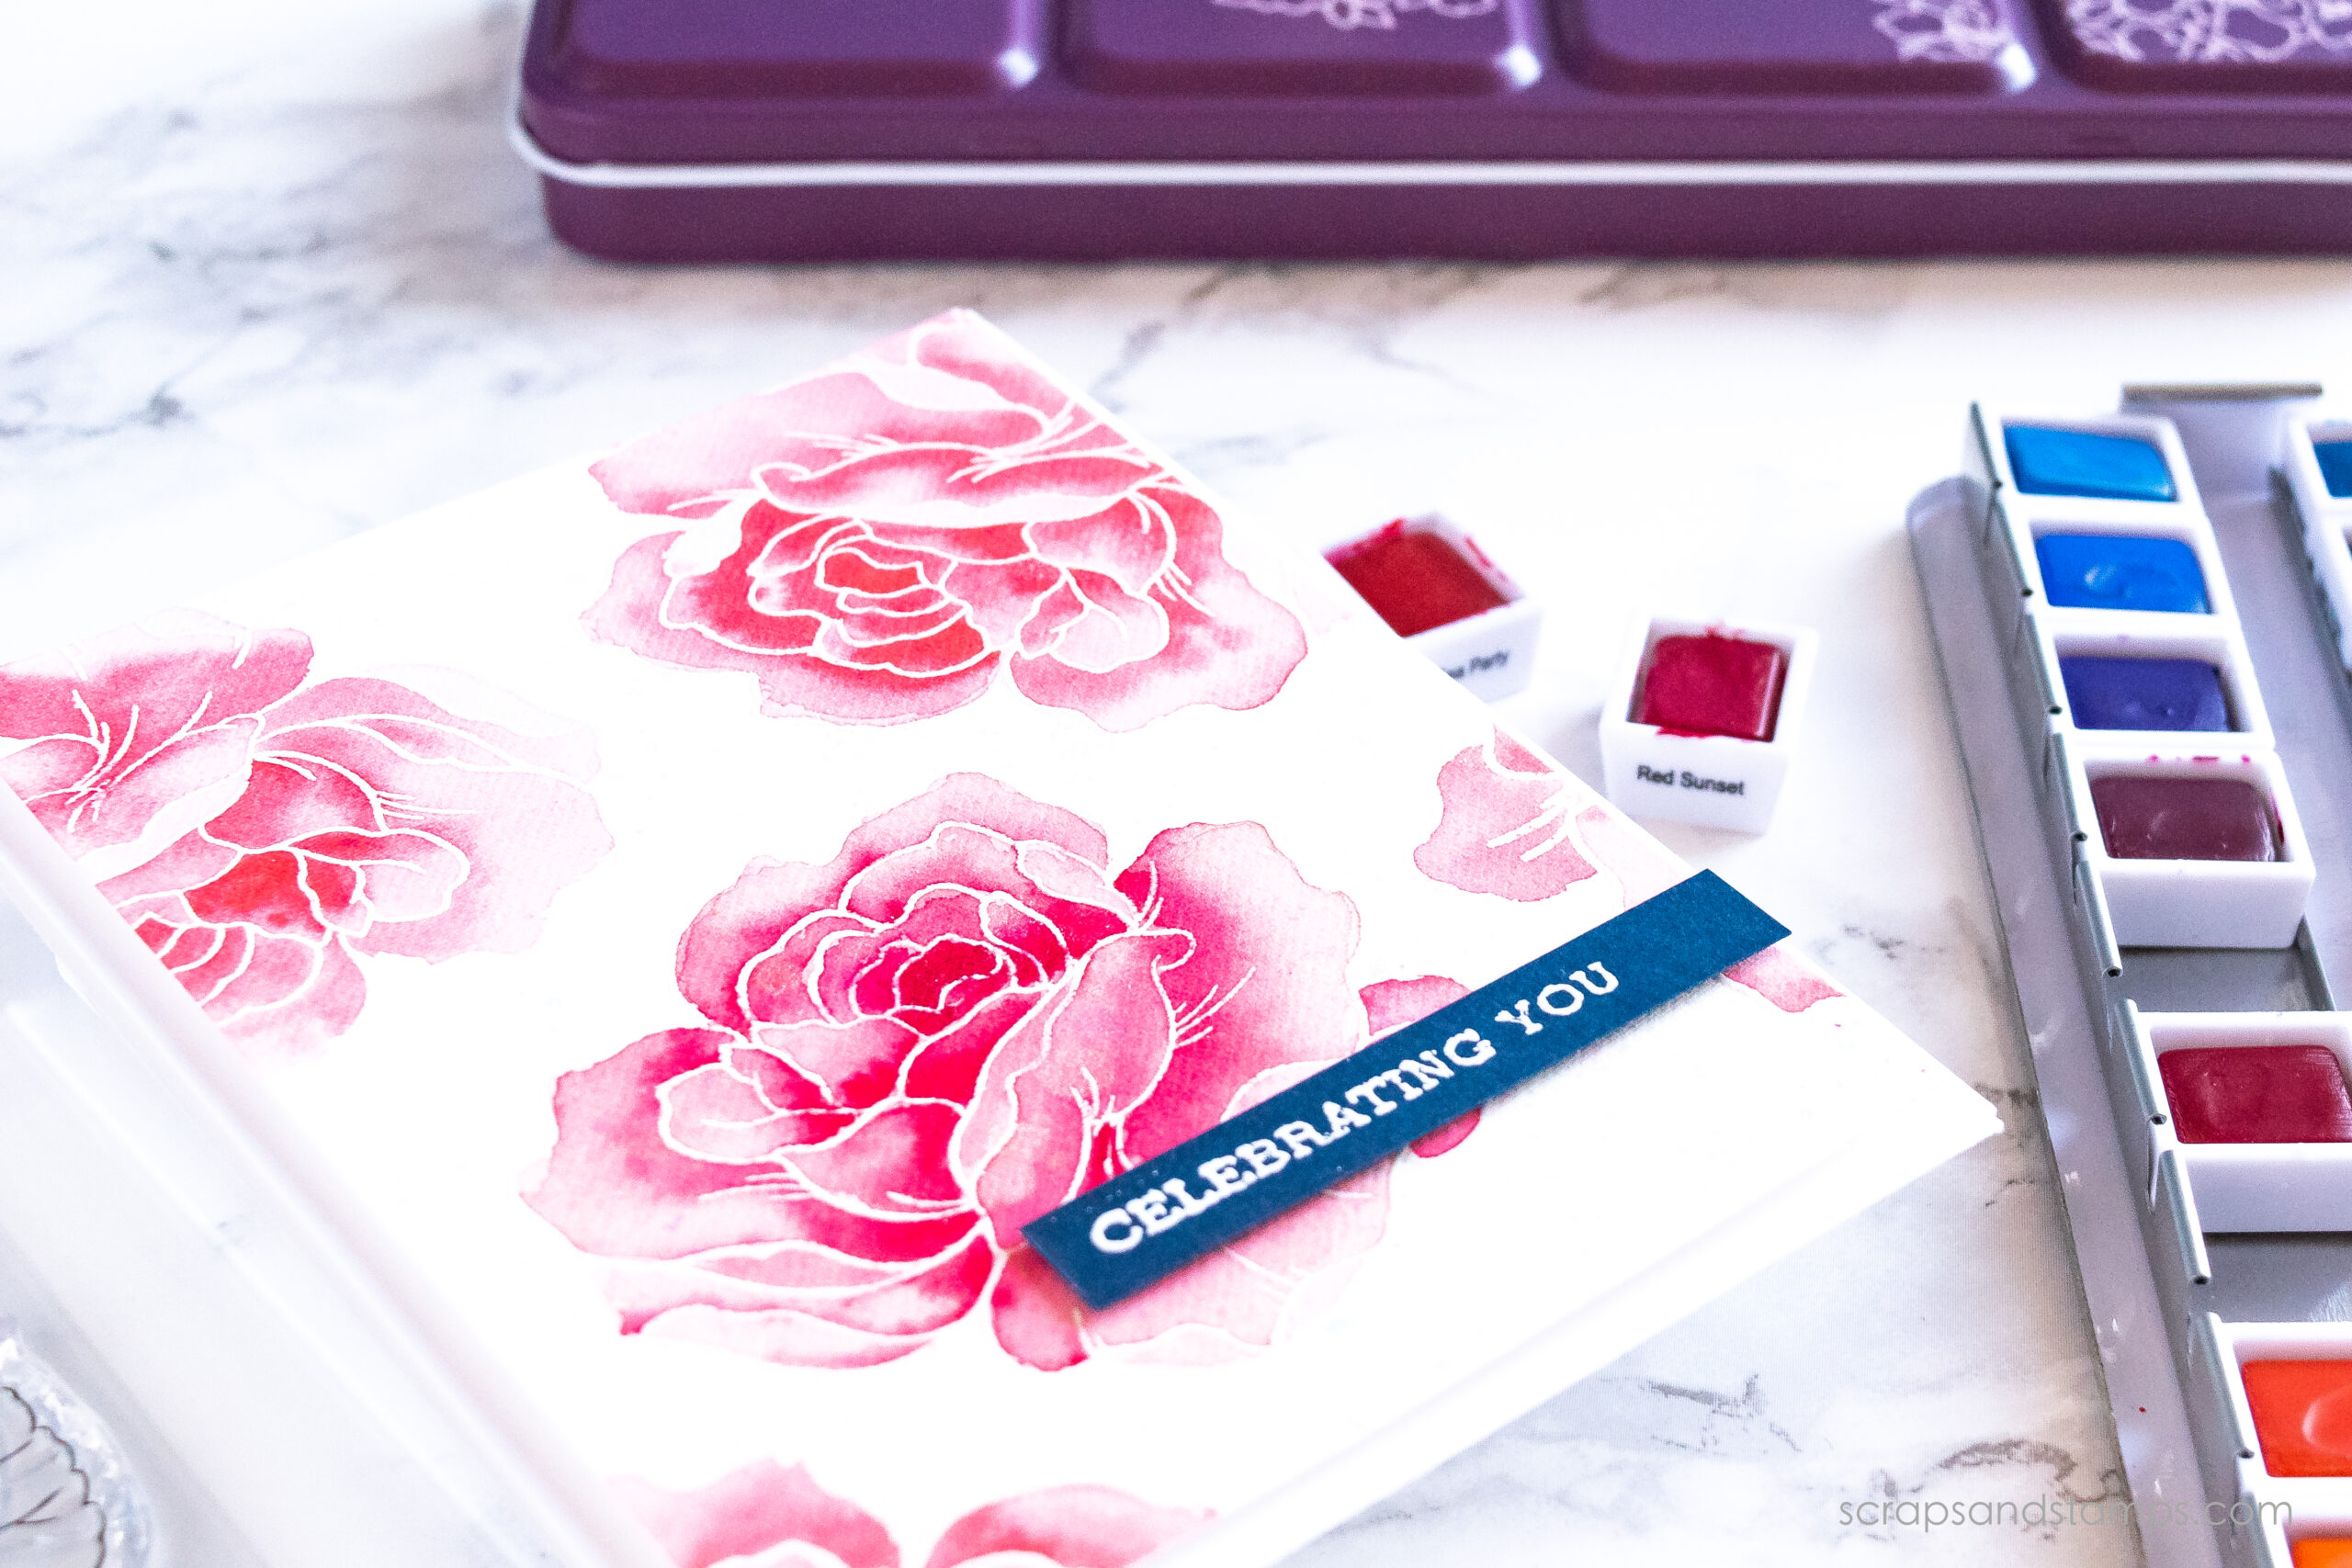
Embossing paste can be controlled exactly how you want it to be. Apply a little amount to give a thin, soft background result or apply thick to give more dimension unto the card. You can also smooth it out or tab it here and there for more fun texture. Natural drying is the best way to let the embossing power to dry. If you are in a hurry, use a heat tool!
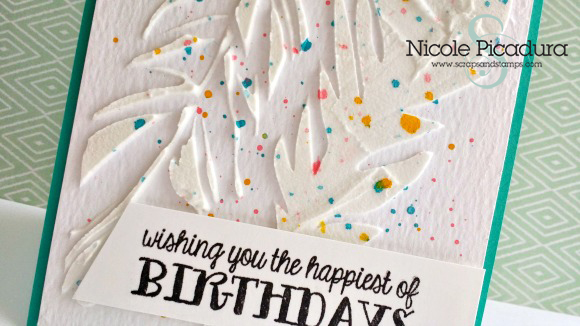
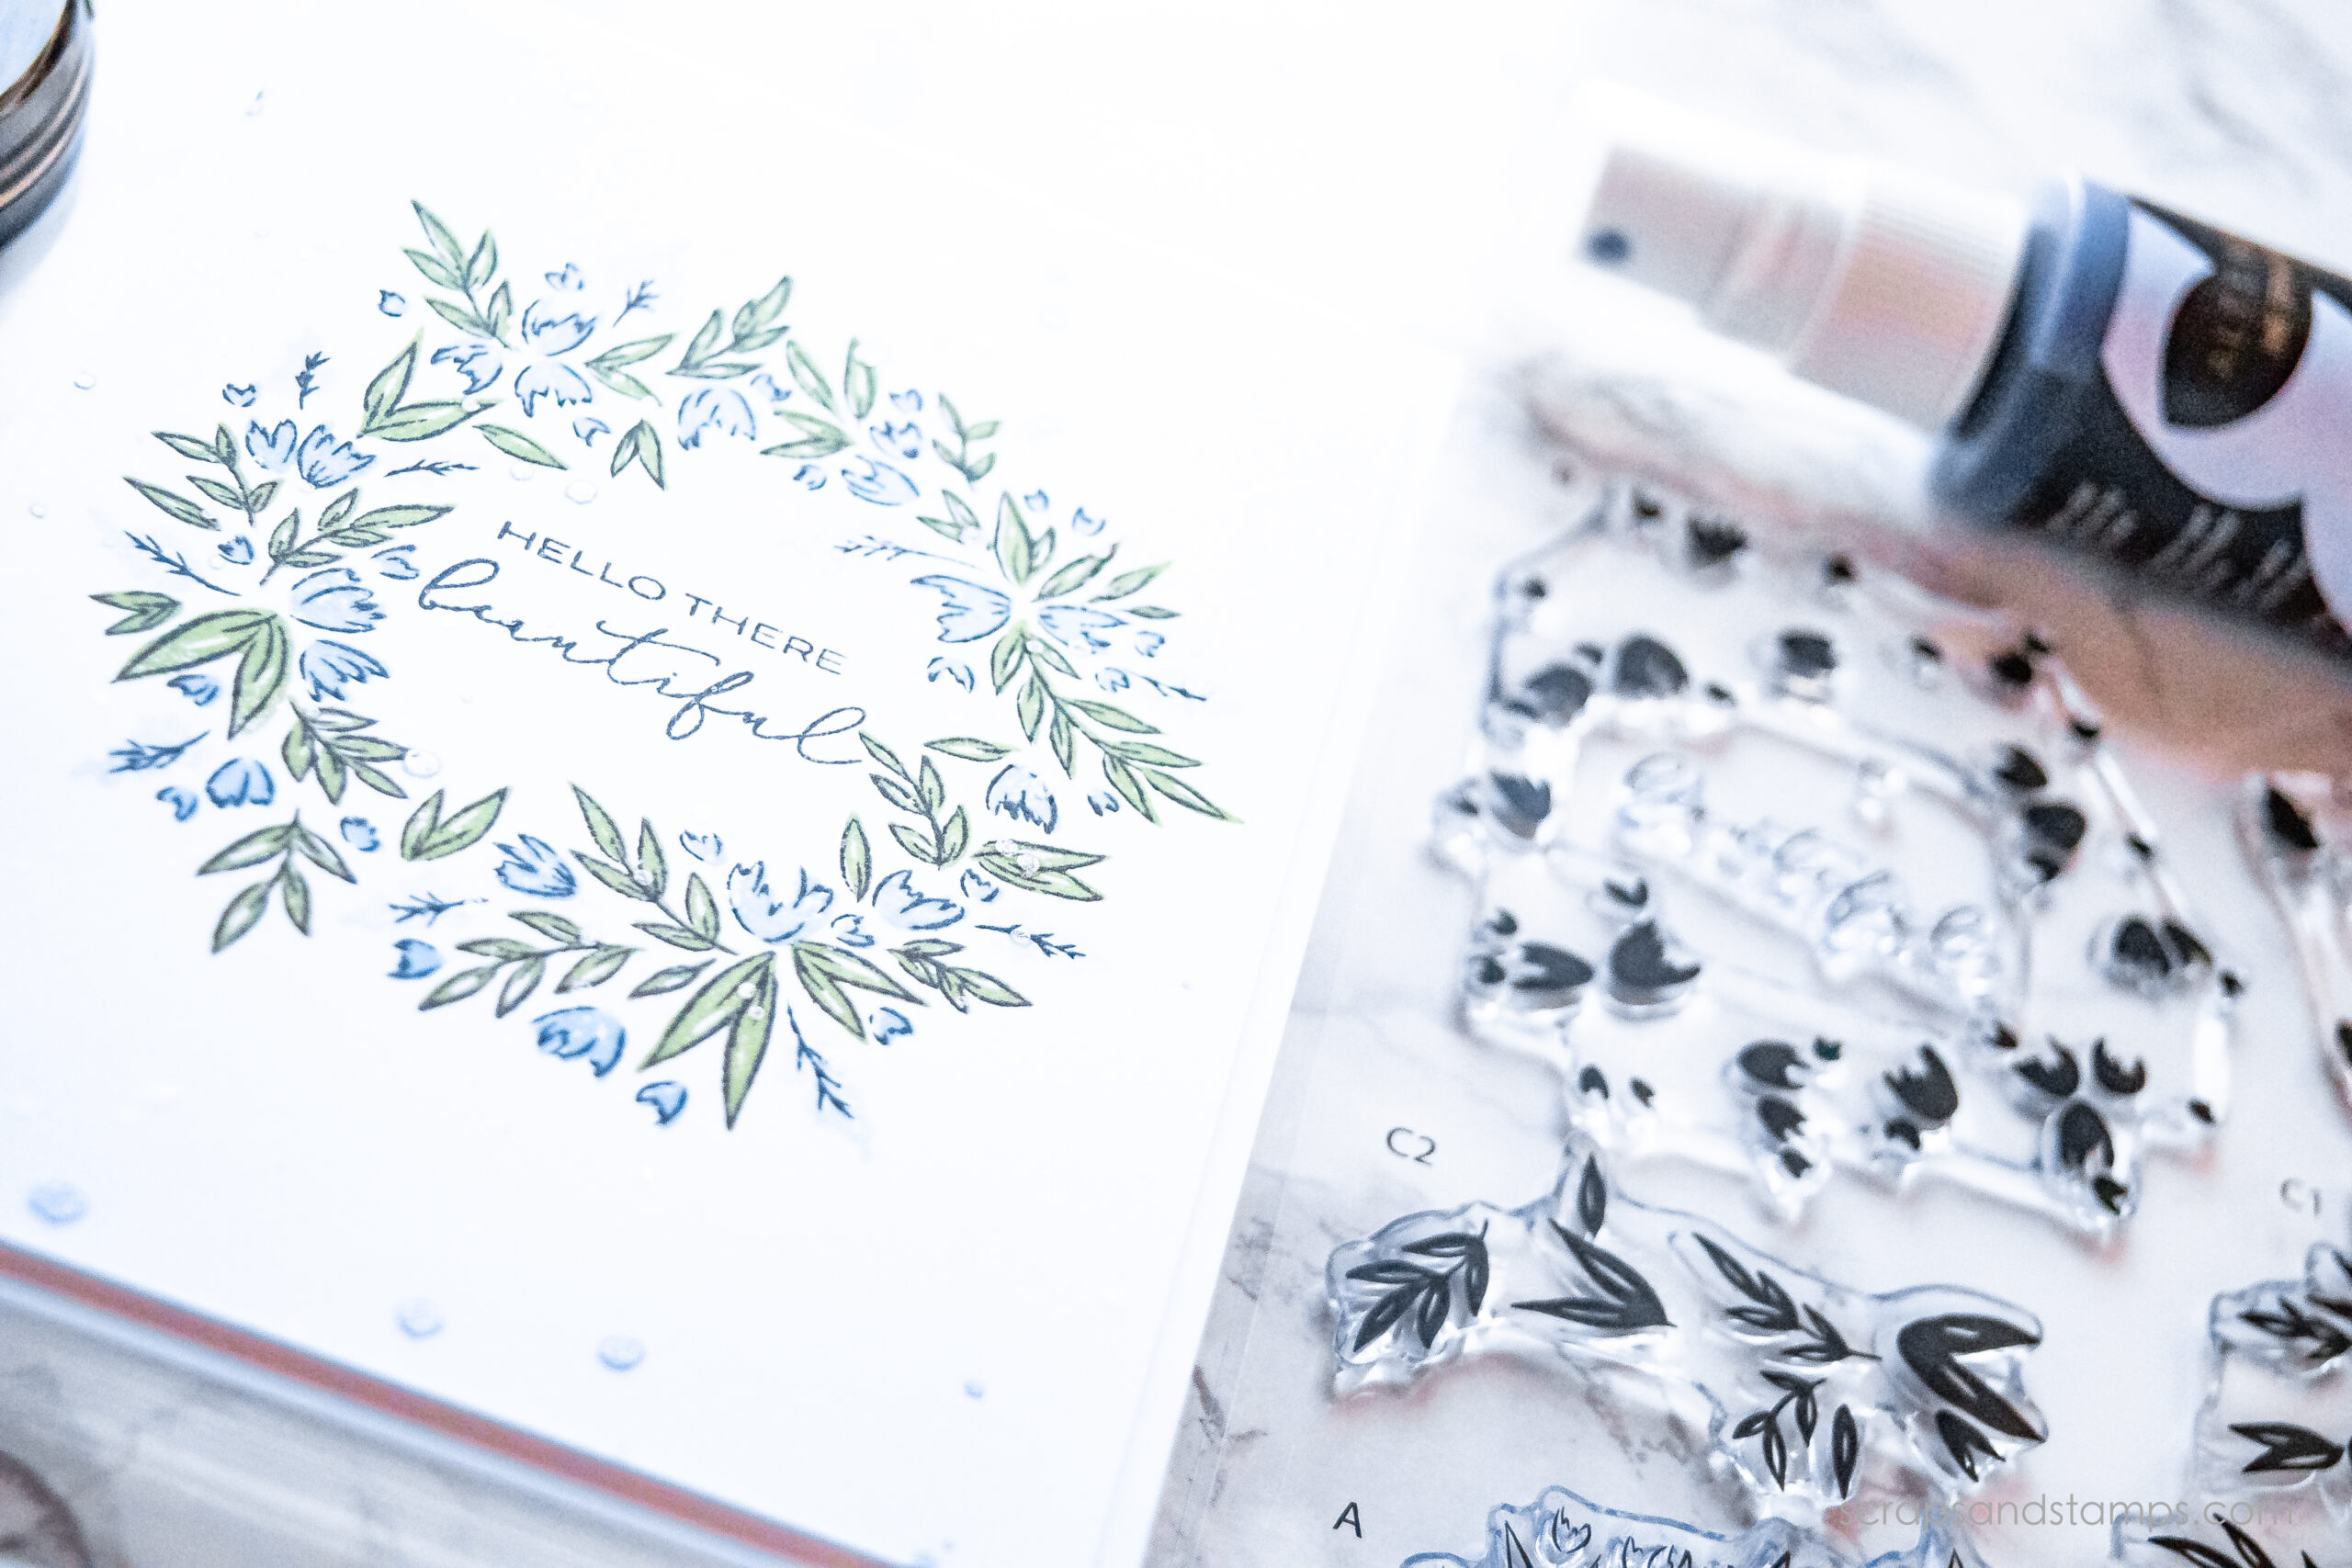
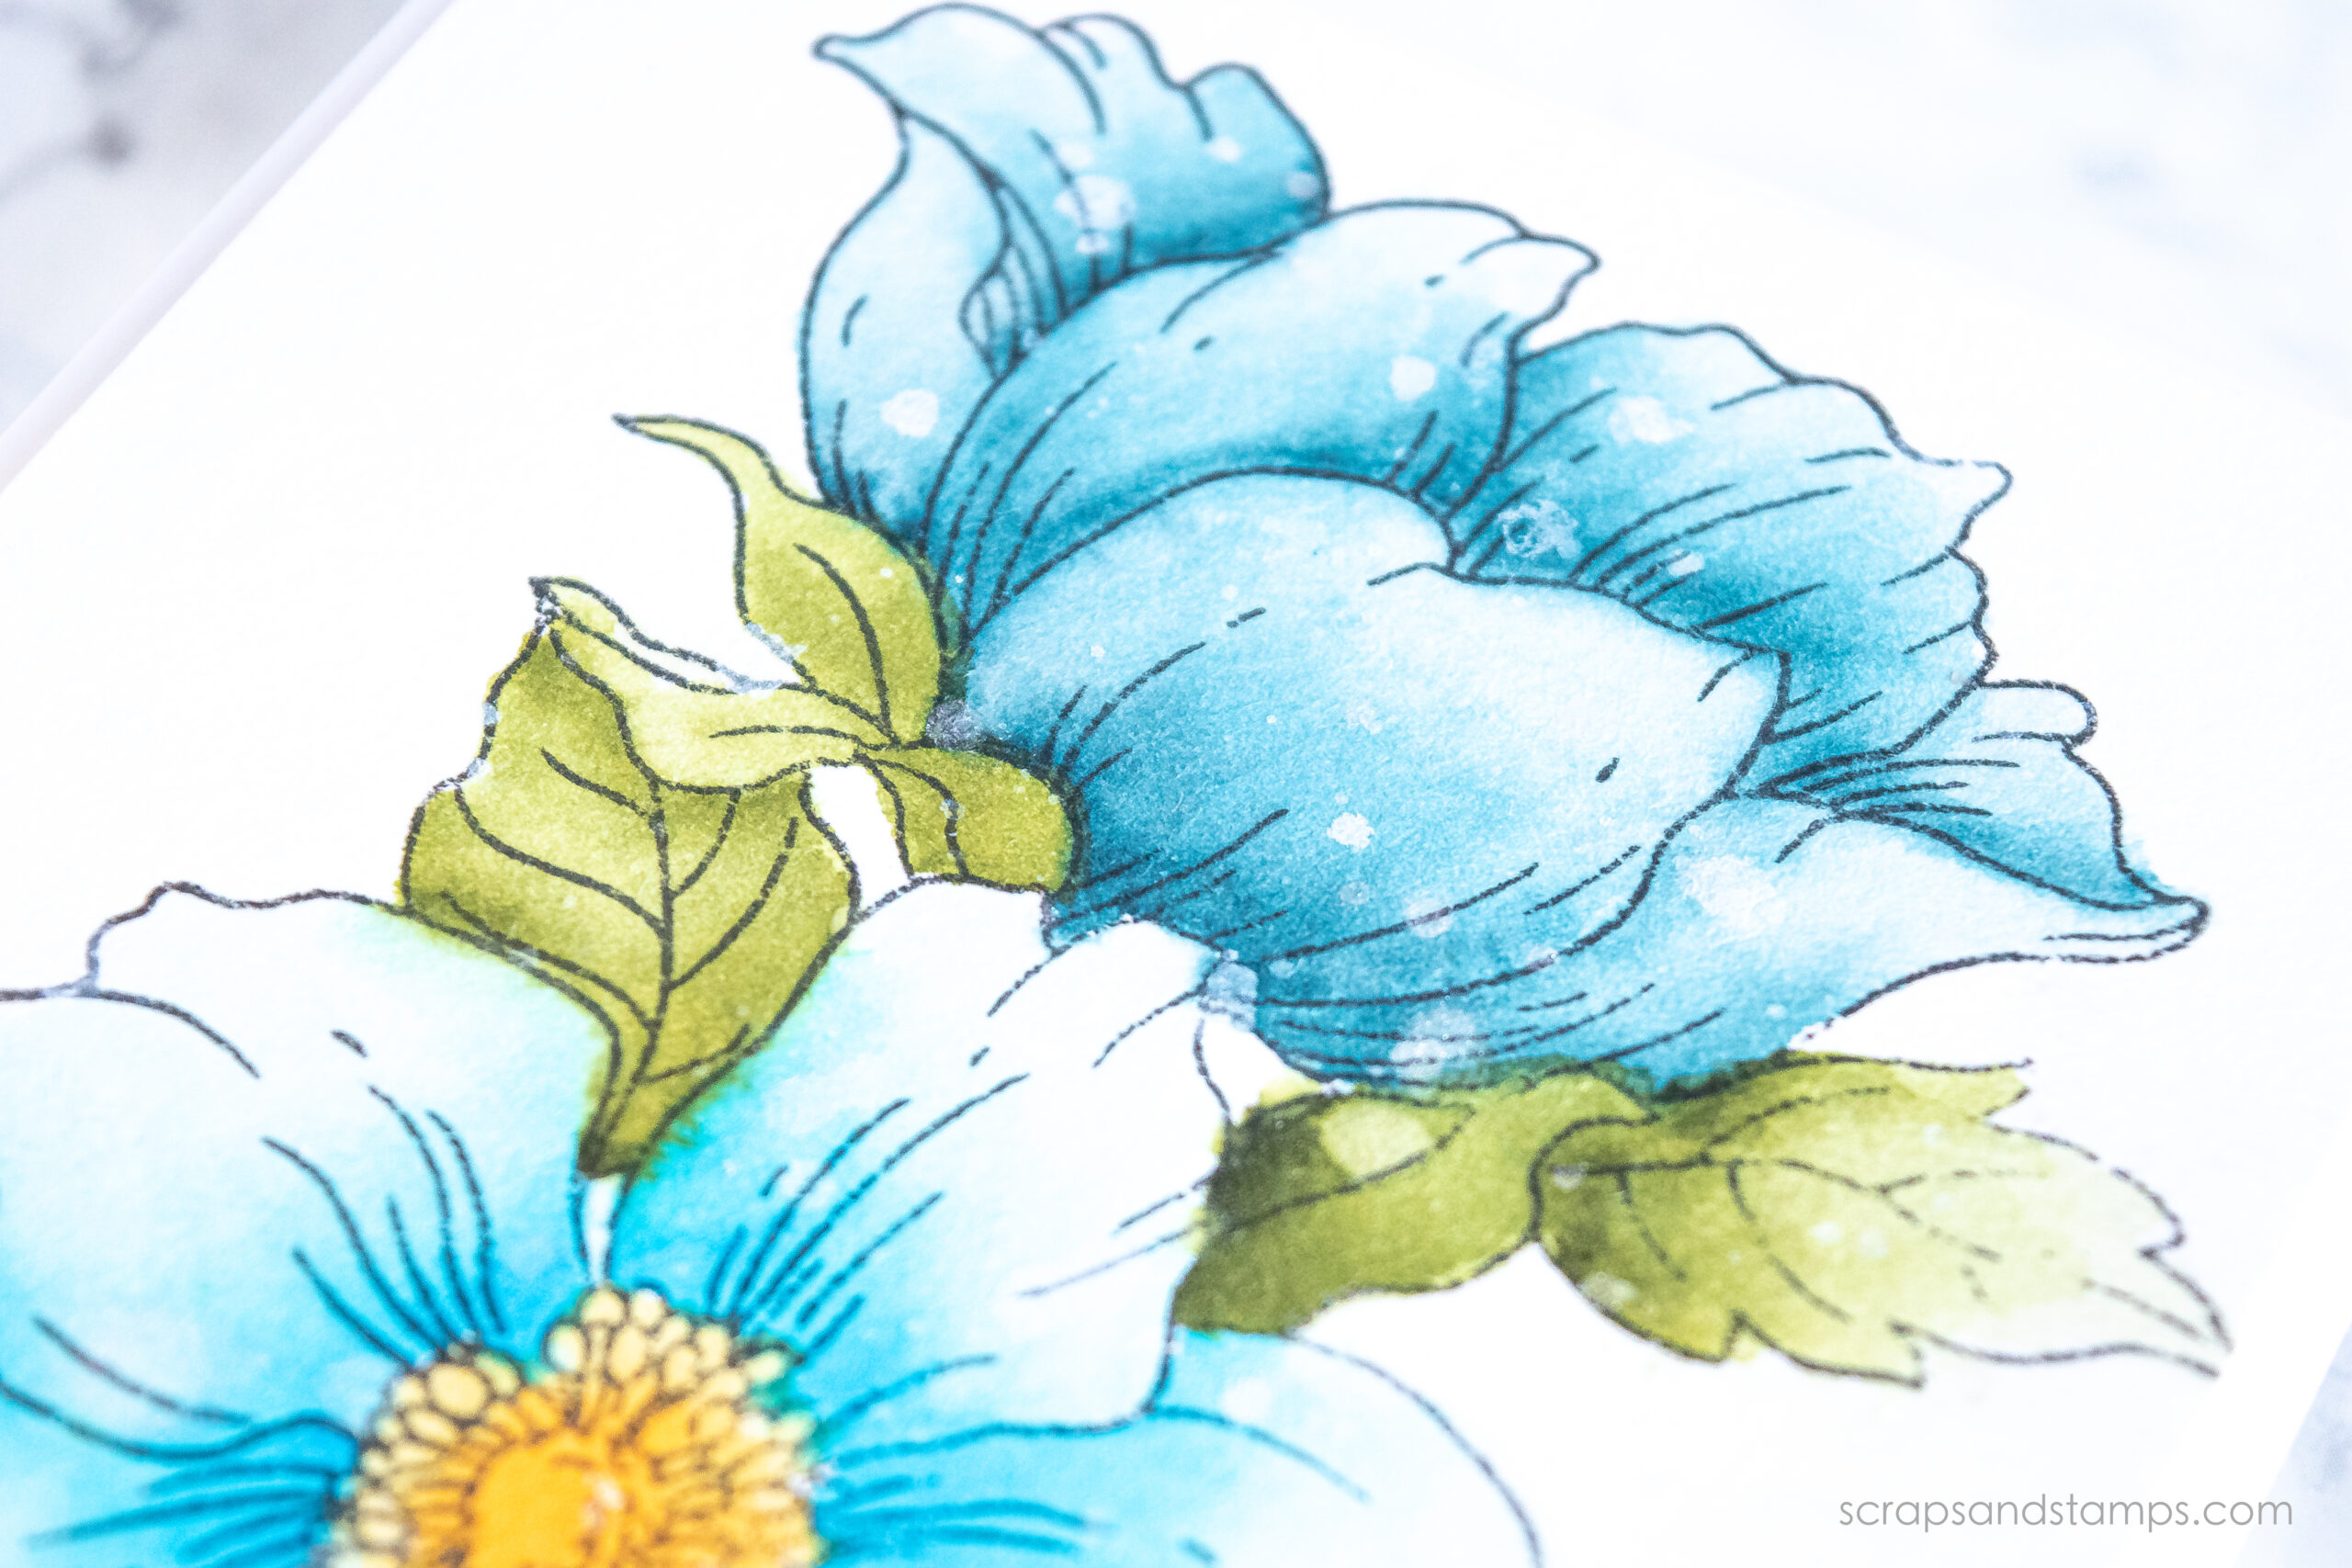
Adding lots of colors can brighten the whole project. Water splattering is my favorite go-to technique when I want to add lots of colors without overwhelming the whole project. With the texture of the embossing paste, this came out to be a very fun card!! Add lots of water for smoother and bigger splashing look, or add little water for a rich and bold look.
Playing with embossing paste doesn’t have to bring you a headache! It can be easy, fun, and simple 🙂
SUPPLIES
All the products used in this projects are listed below. You can get them by clicking the items below. These are two of my favorite places to shop: Click EH for Ellen Hutson, SSS for Simon Says Stamp, or AMZ for Amazon!