Hello! It is so great to be back in my crafting studio and create. Thanks for all your kind words and emails while I was away, you guys rock!
Since I first introduced the Touch Twin Markers, I’ve gotten a lot of requests to do more detailed videos on these so you guys can see more. So for the next few weeks, I will be purely focusing on coloring with these markers so you can see how they blend and work well with each other. In these videos, you will be able to see colors more closed up and how you can use different techniques to get more out of them.
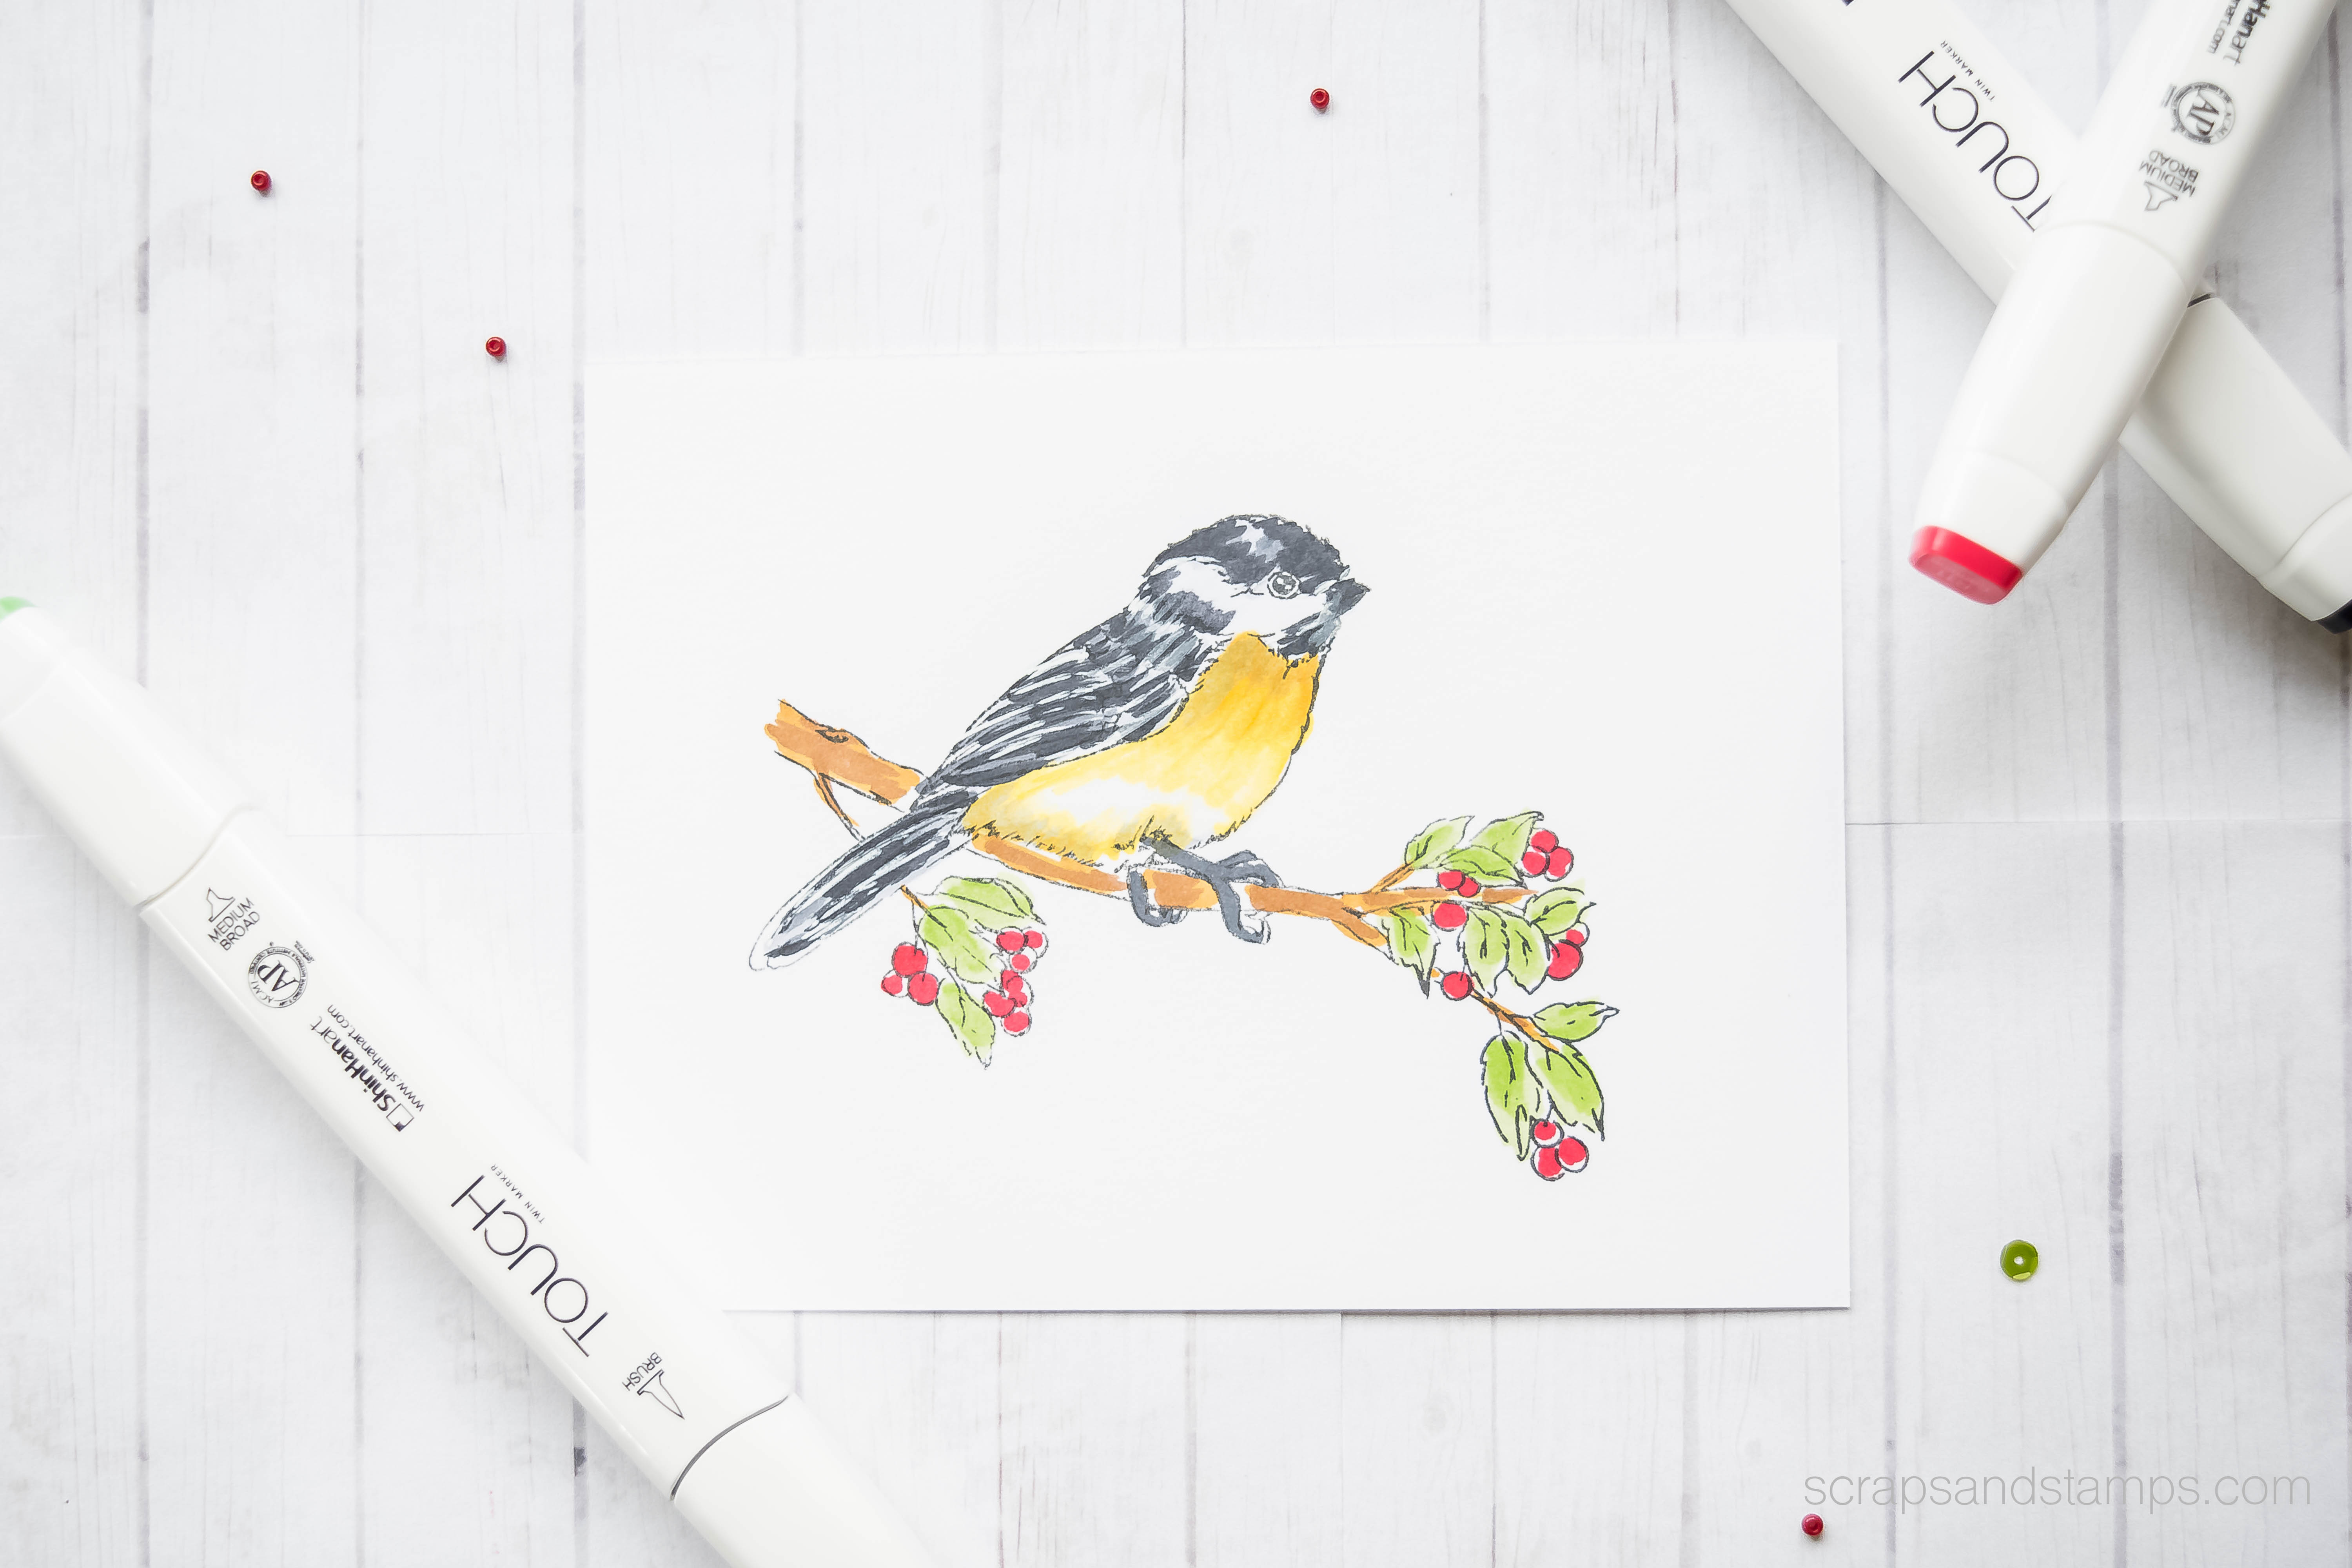
In today’s video, I colored a bird image from the A New Day stamp set by Wplus9. I am so in love with this bird, this had to be one of the first coloring projects I wanted to work on. Enjoy the video tutorial below to see how you can color the image with Touch Twin Markers.
In the video above, I also shared a peek at my marker swatches. Here is the link to the free downloadable grid paper I used as a swatch.
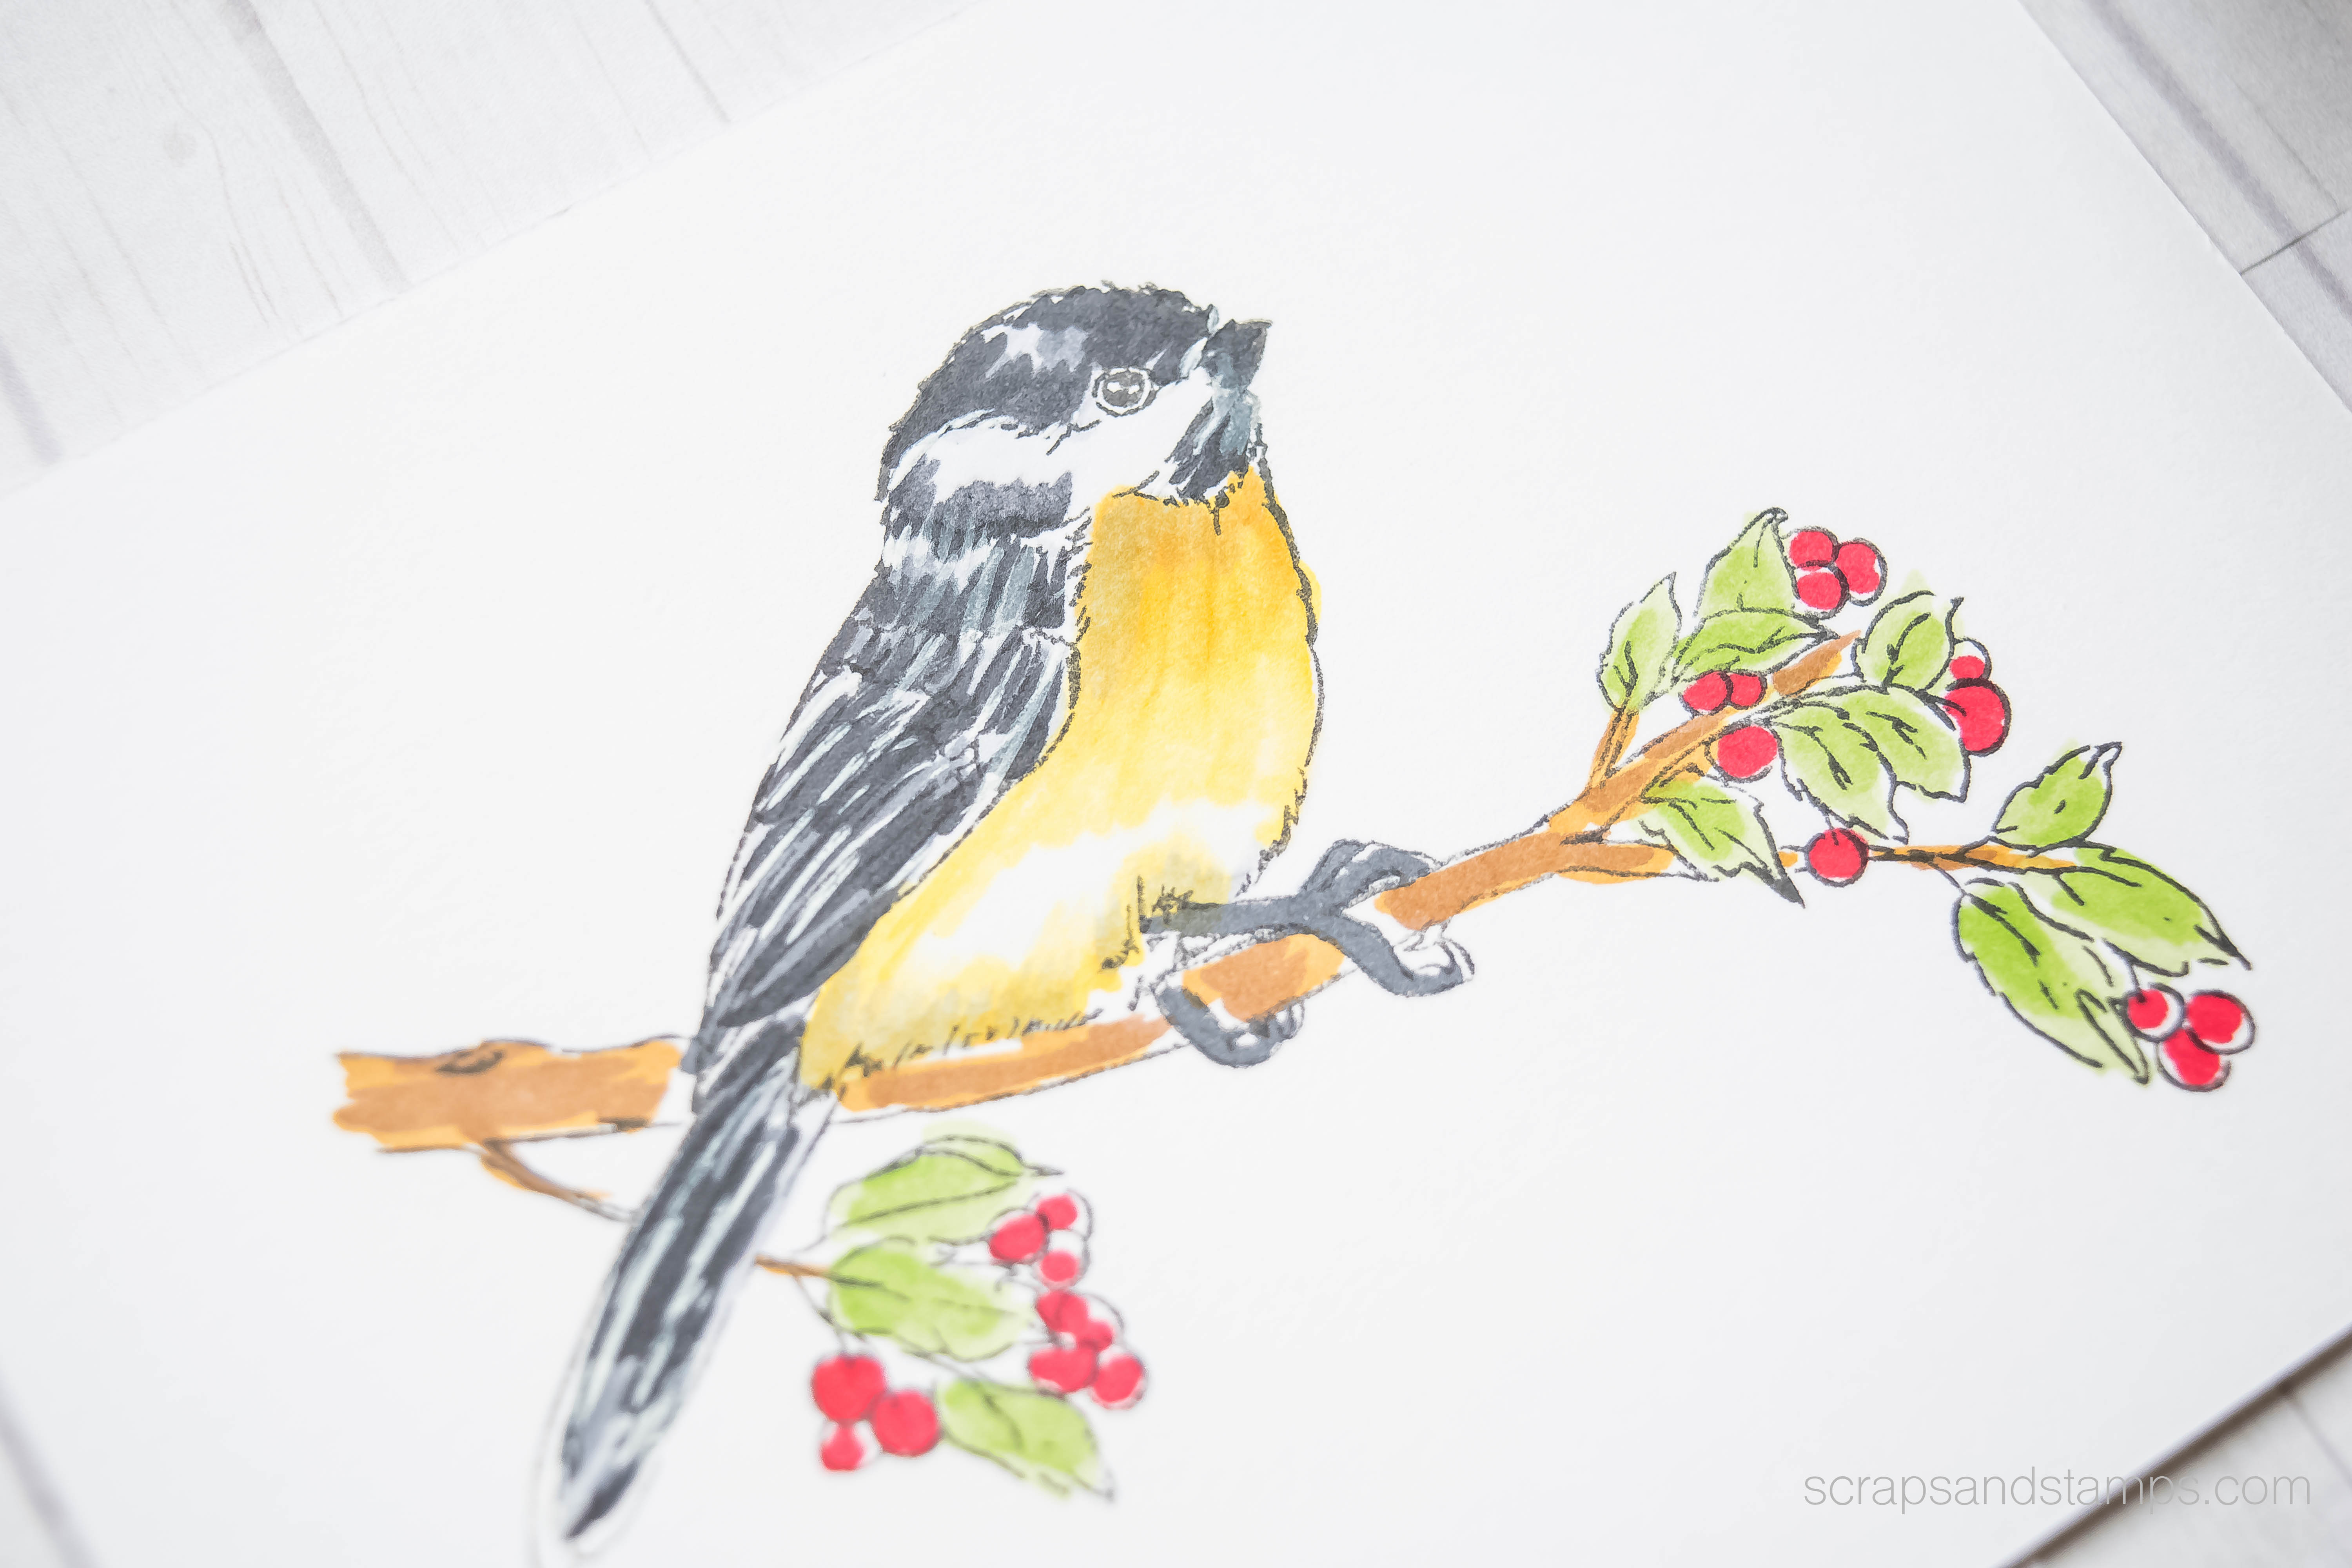
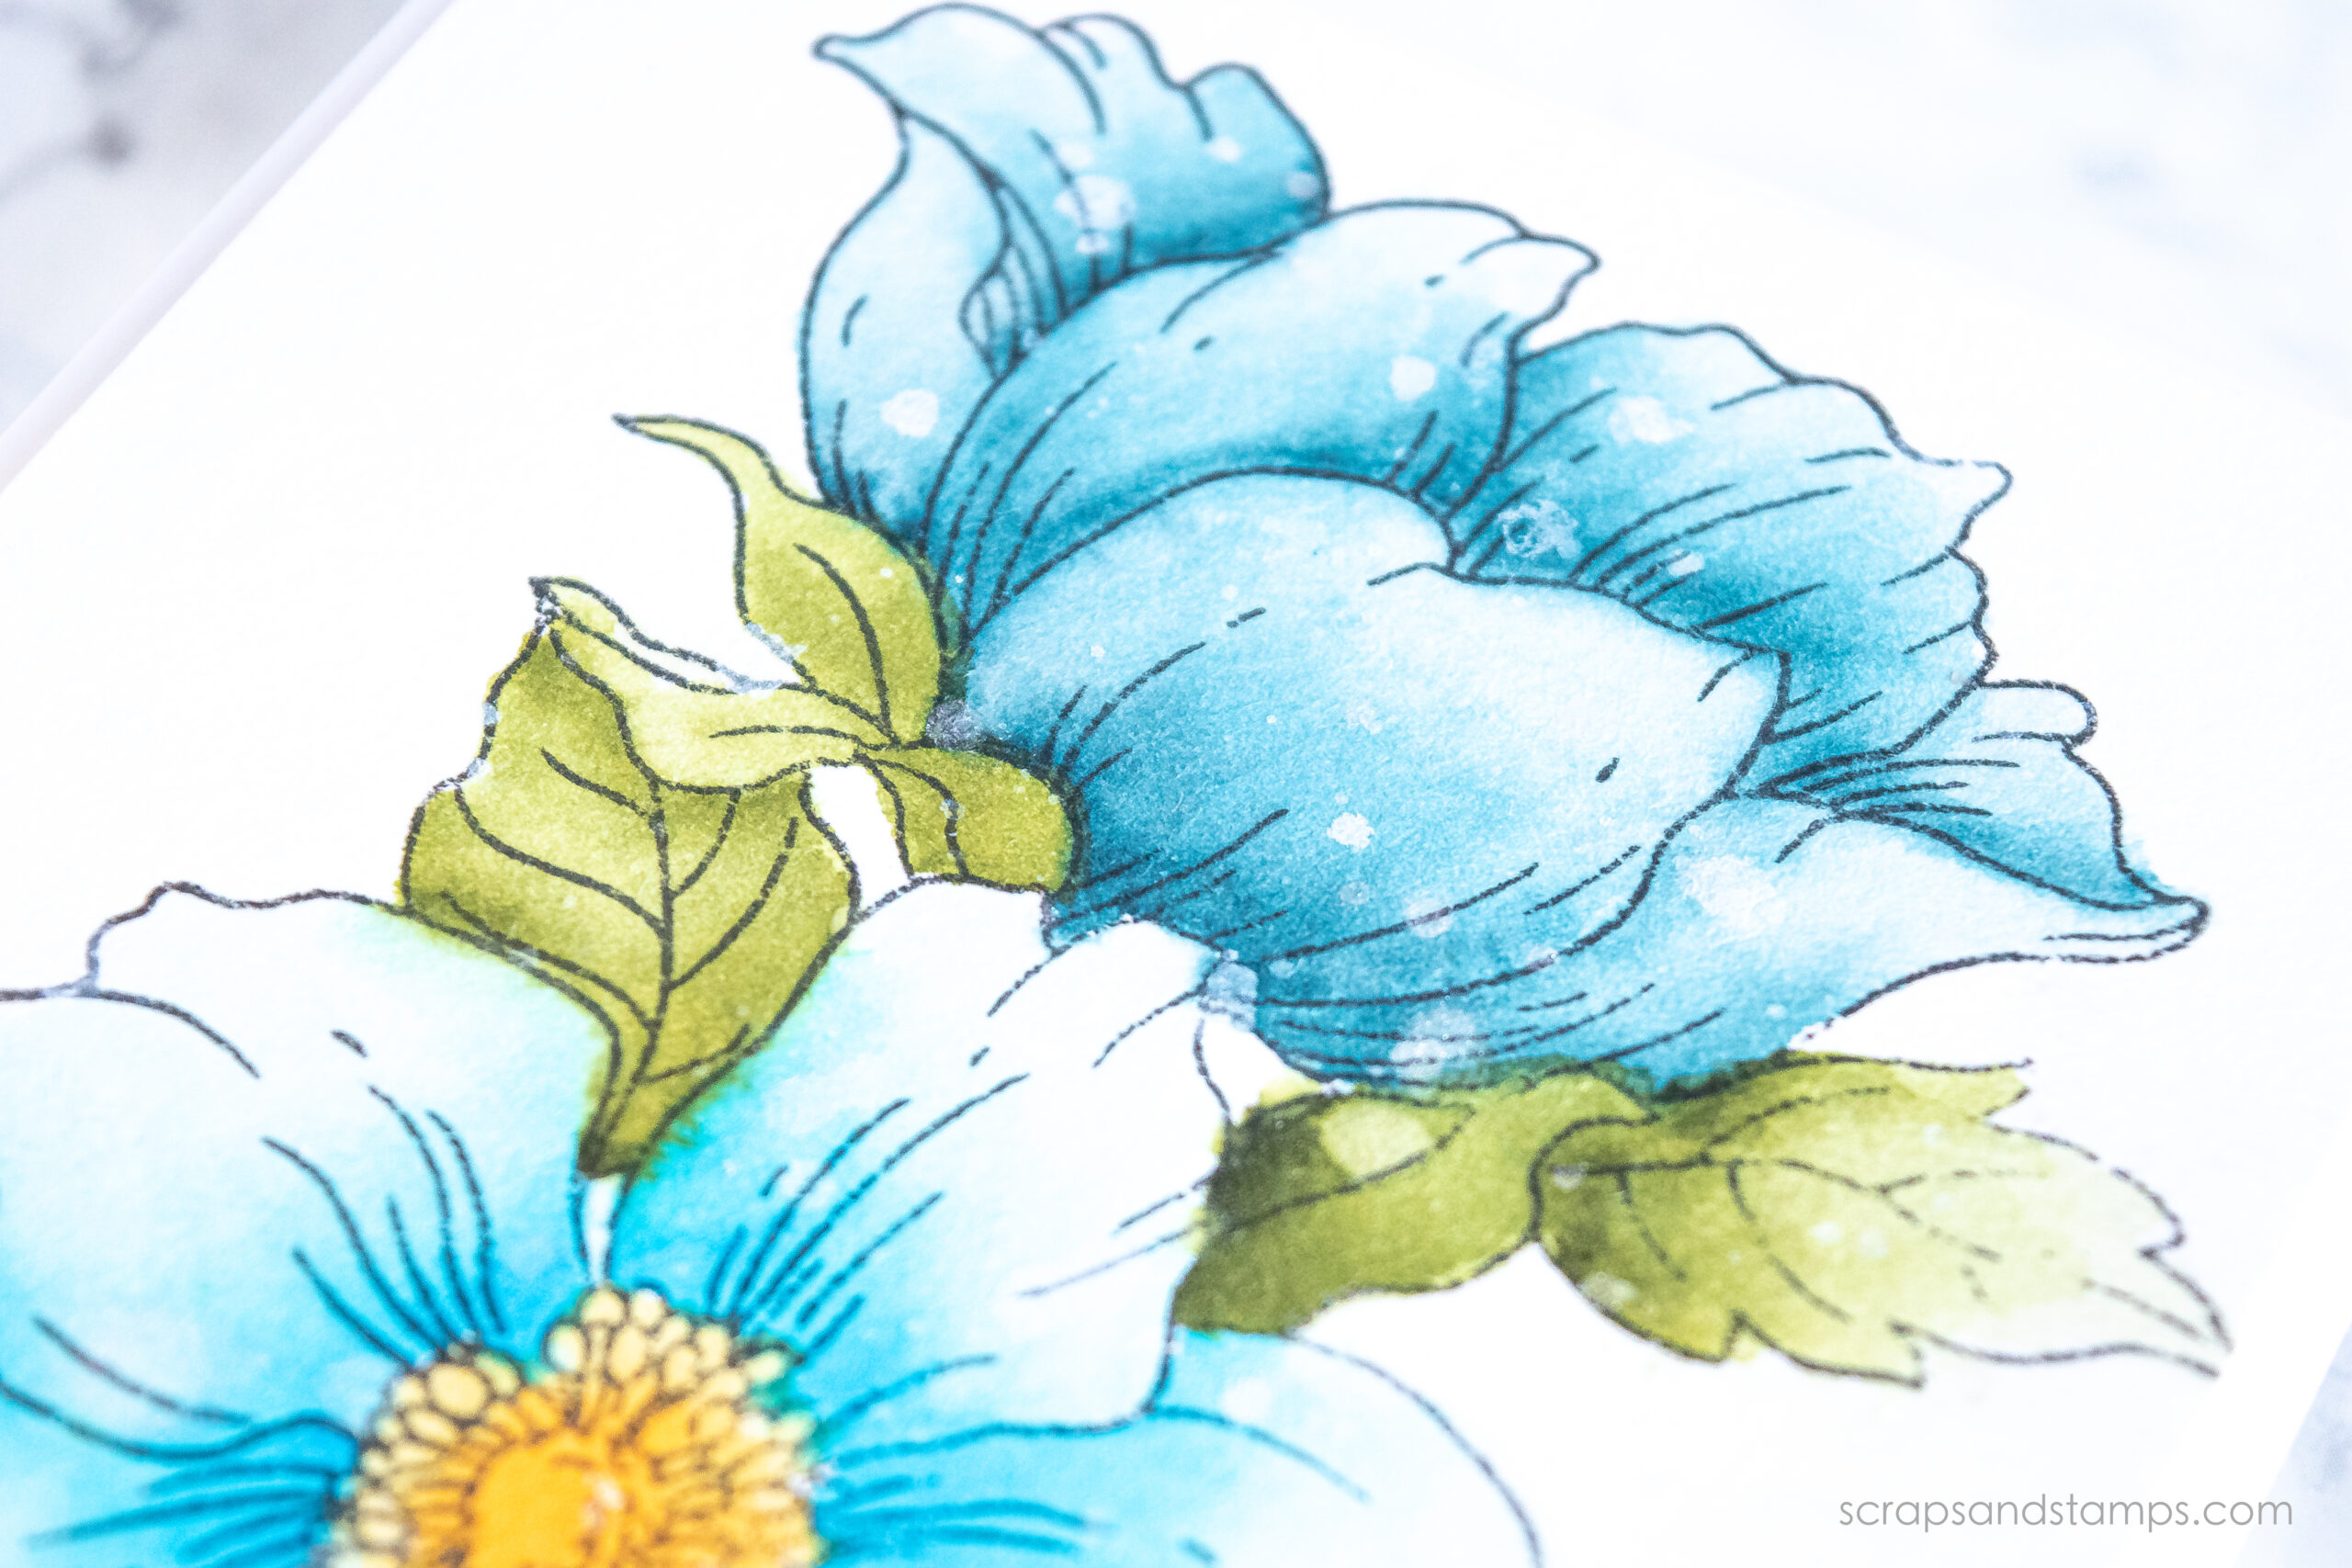
Even if you do not have the markers I am using, you can still get this look by using any alcohol based markers you own. I used a lot of flicking motion to colors in the bird so it has some nice textures. As long as you color the image with the same flicking technique, you can get the same look as I did on this project.
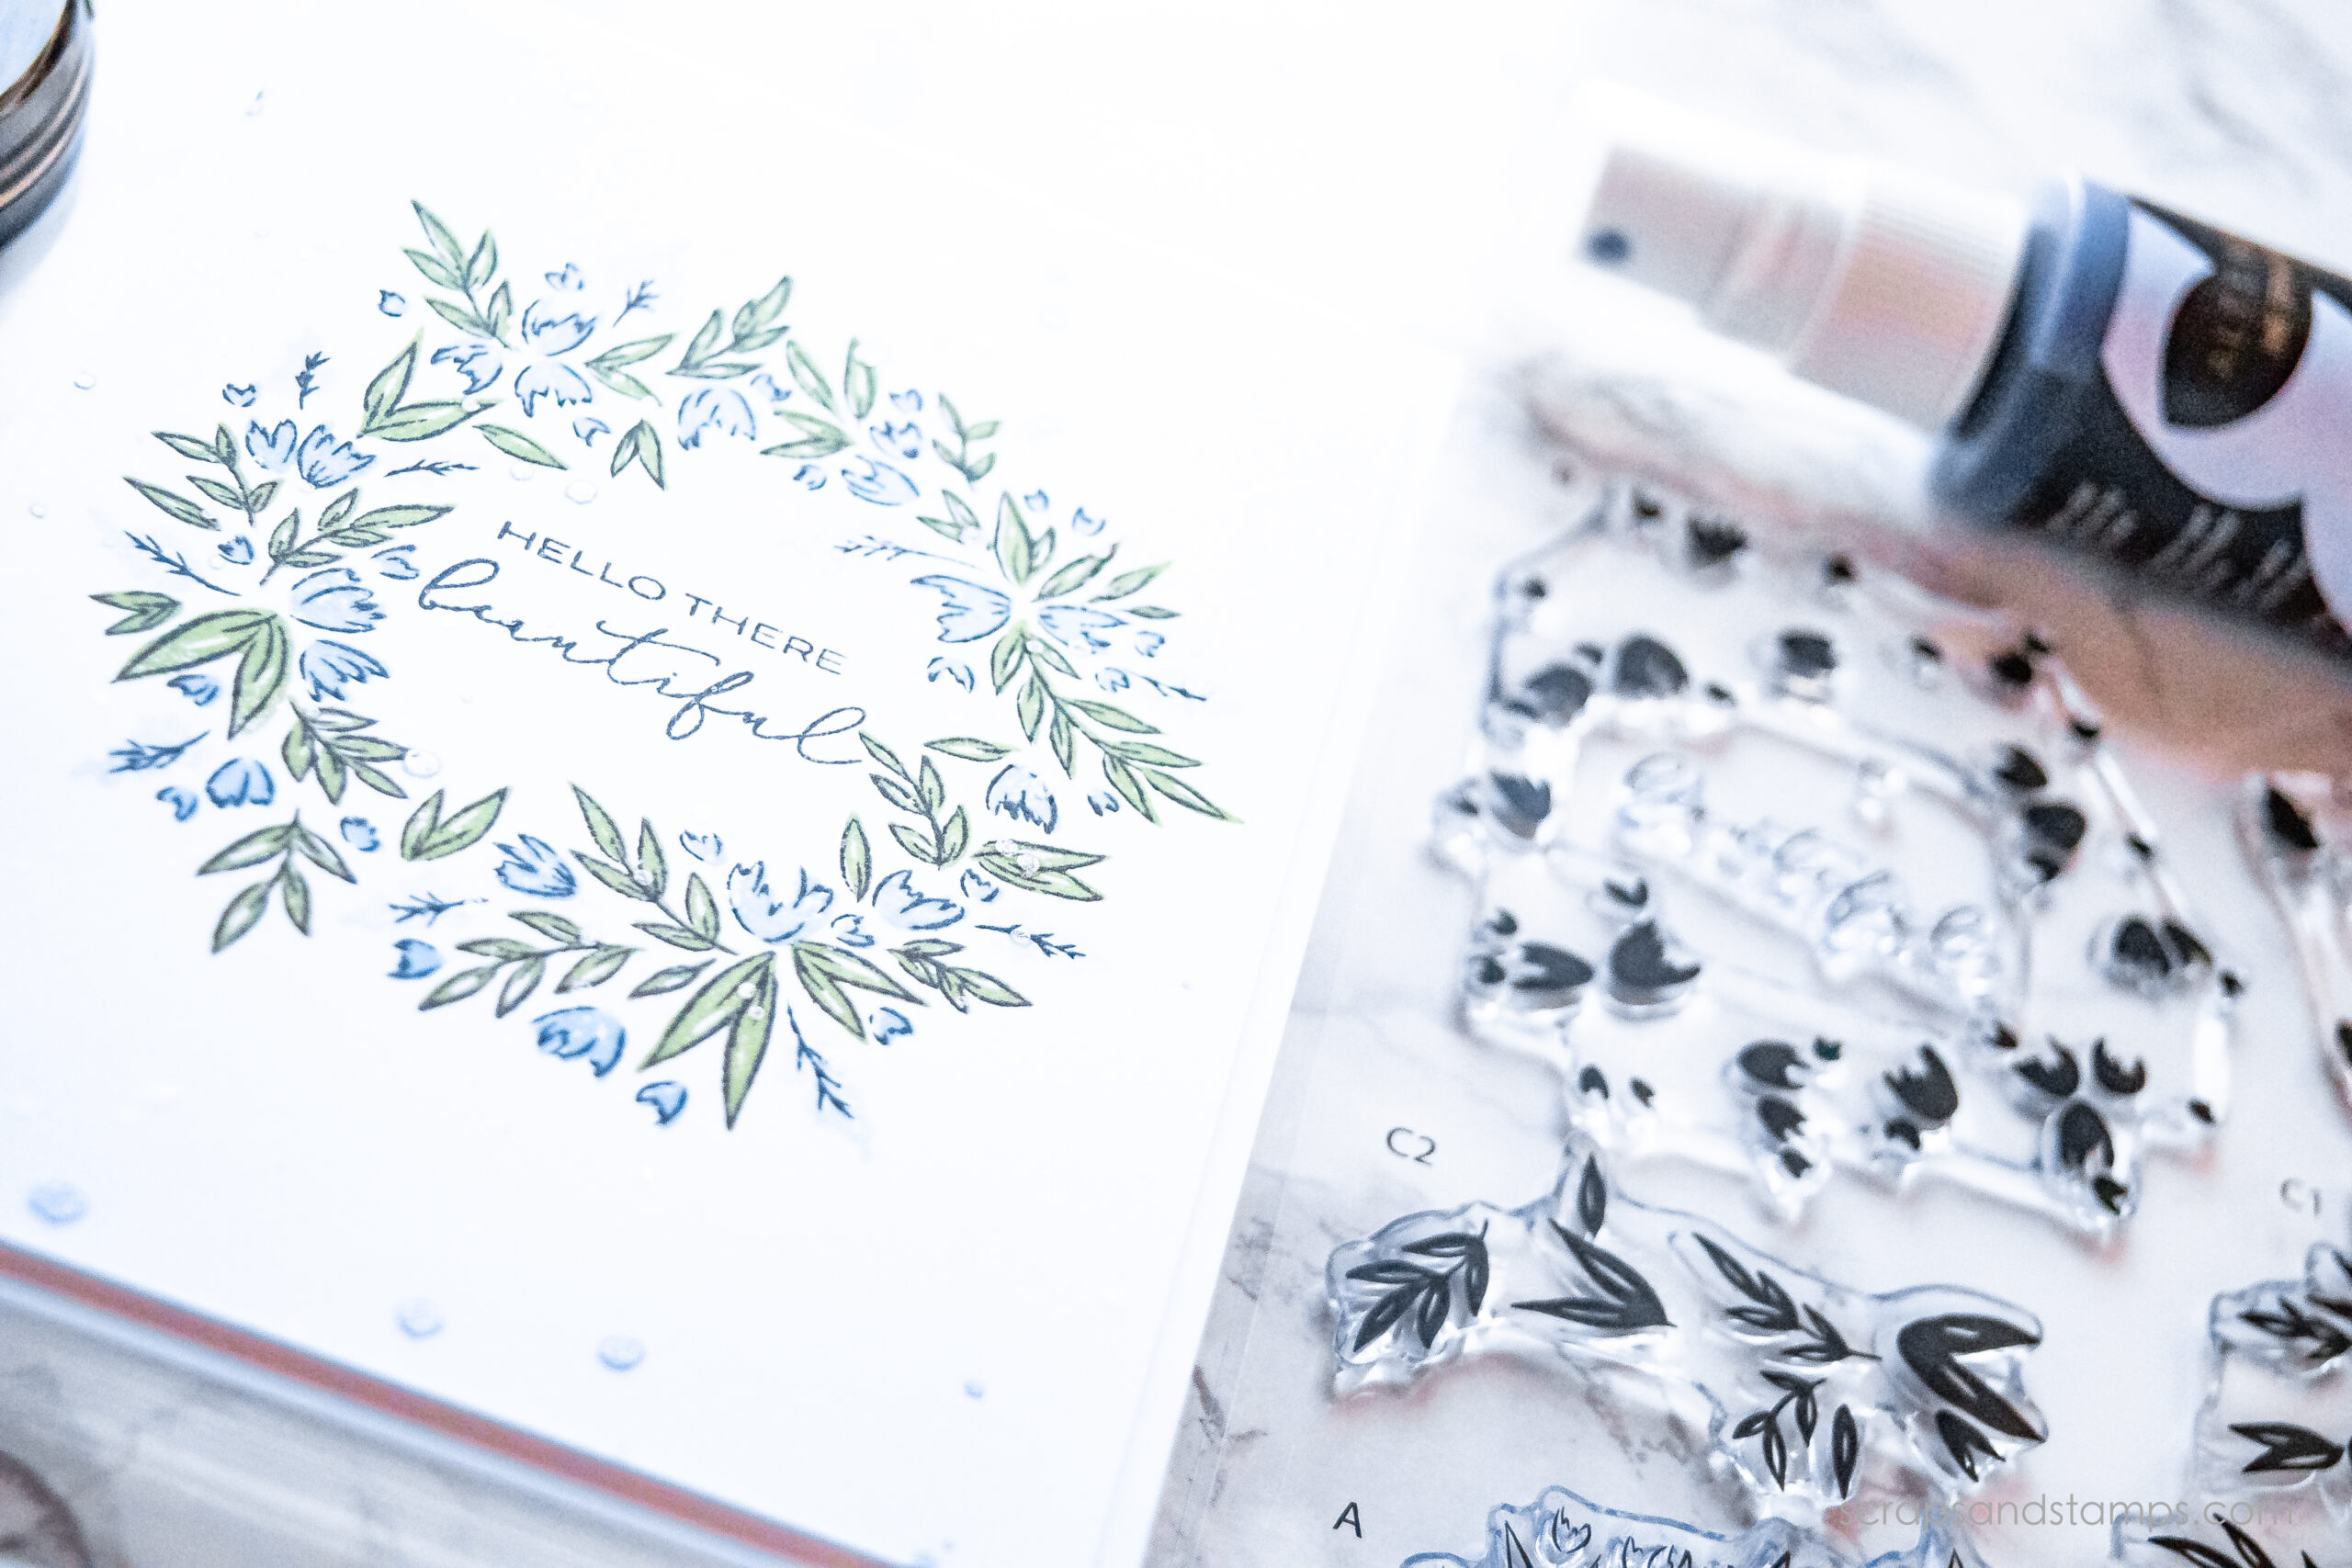
I also didn’t fill in the whole outlined image when coloring it with the markers. I wanted to create a watercolored look a bit so I left some white spaces in between the images. I think some white spots can make your image to pop out even more.
Colors Used: Y35, YR31, R11, 0, CG2, CG4, CG8, 120, BR101, BR102, GY47, G242
Hope you enjoyed today’s video tutorial! I will do more videos on coloring with the Touch Twin Makers so stay tuned!
SUPPLIES
See below for all the products used in today’s project. Click SSS for Simon Says Stamp, EH for Ellen Hutson, or AMZ for Amazon. All the products were personally purchased, otherwise noted. Enjoy shopping and happy creating!