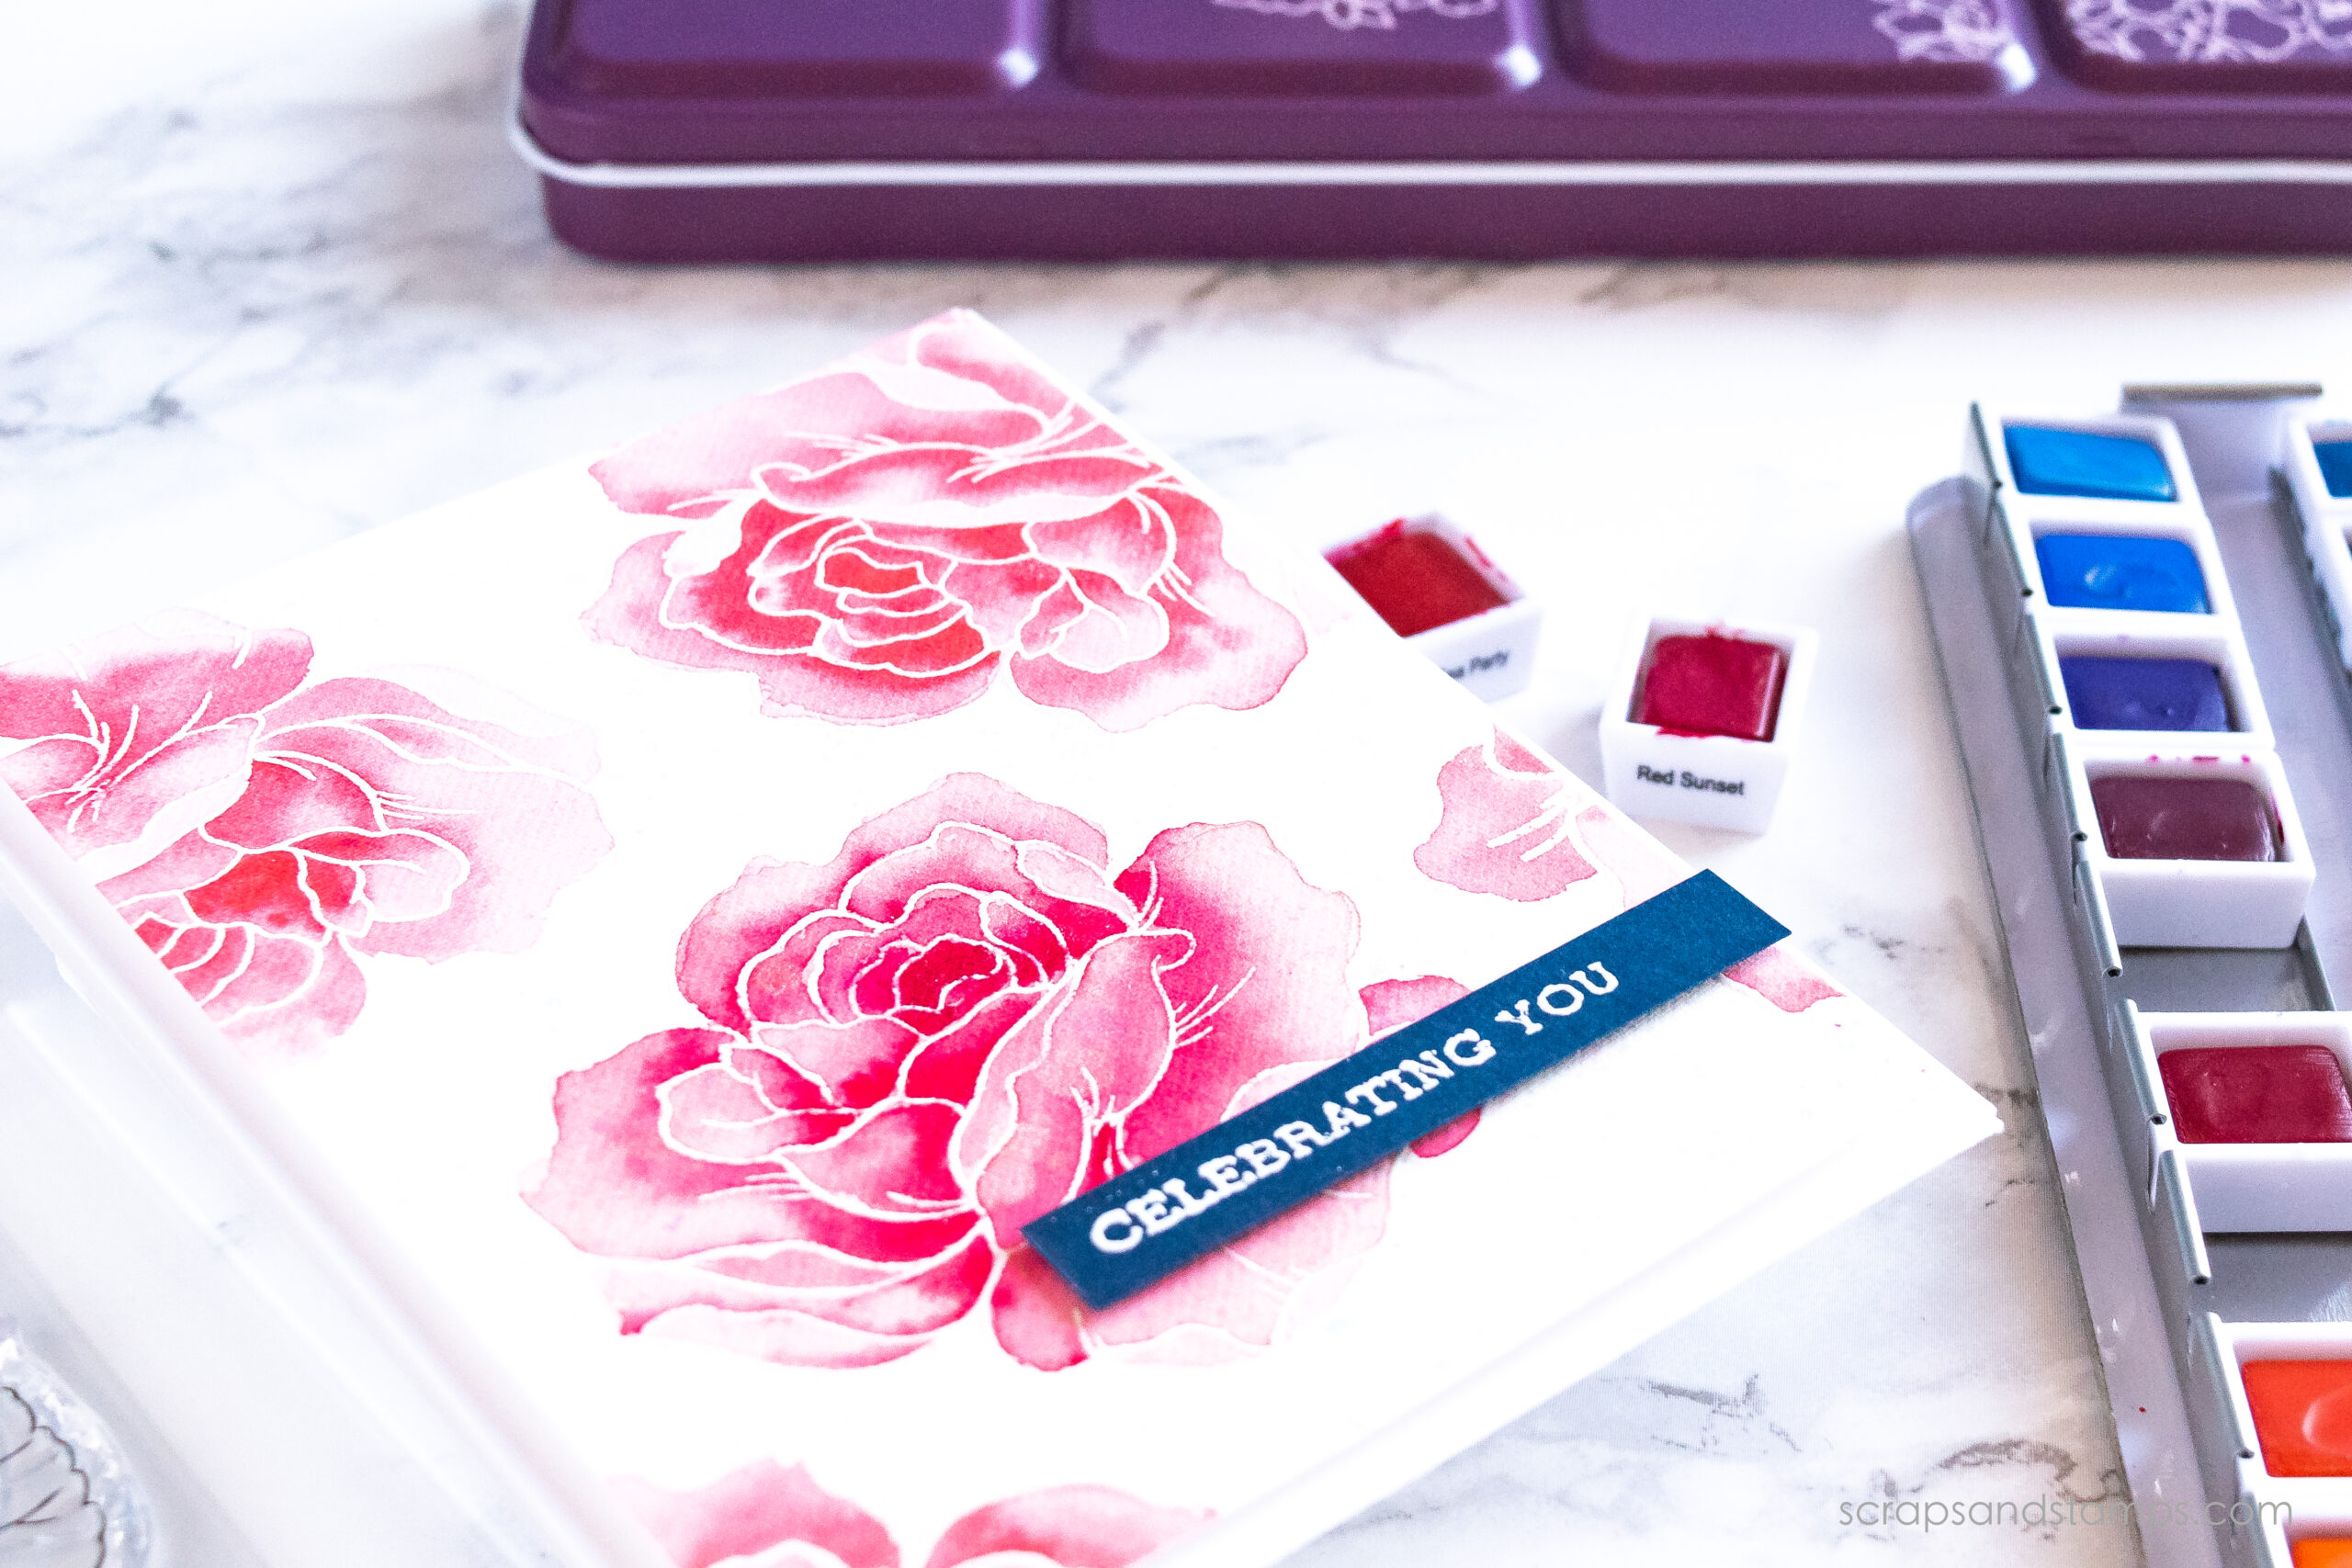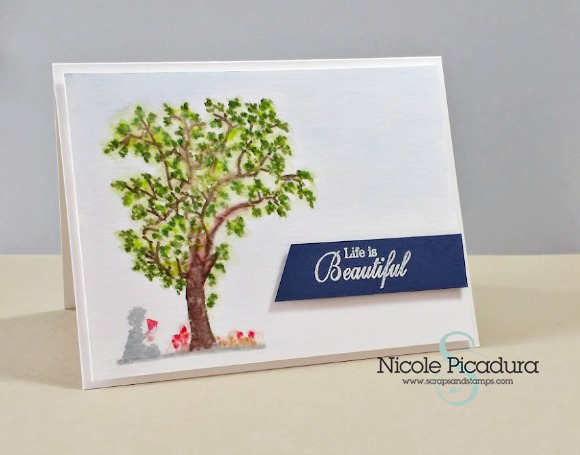
Watercolor is really big in paper crafting right now and a lot of people told me that they are afraid of getting into watercoloring. One of the big reasons I hear is because it sounds and looks intimidating to try out. So, to give an easy way to create a watercolor look, I decided to share this project and do a video tutorial on it. You will get a full watercoloring look using a shadow stamp image and couple of markers. So go ahead and get a cup of coffee or a healthy smoothie, sit back, relax, and enjoy the video tutorial!
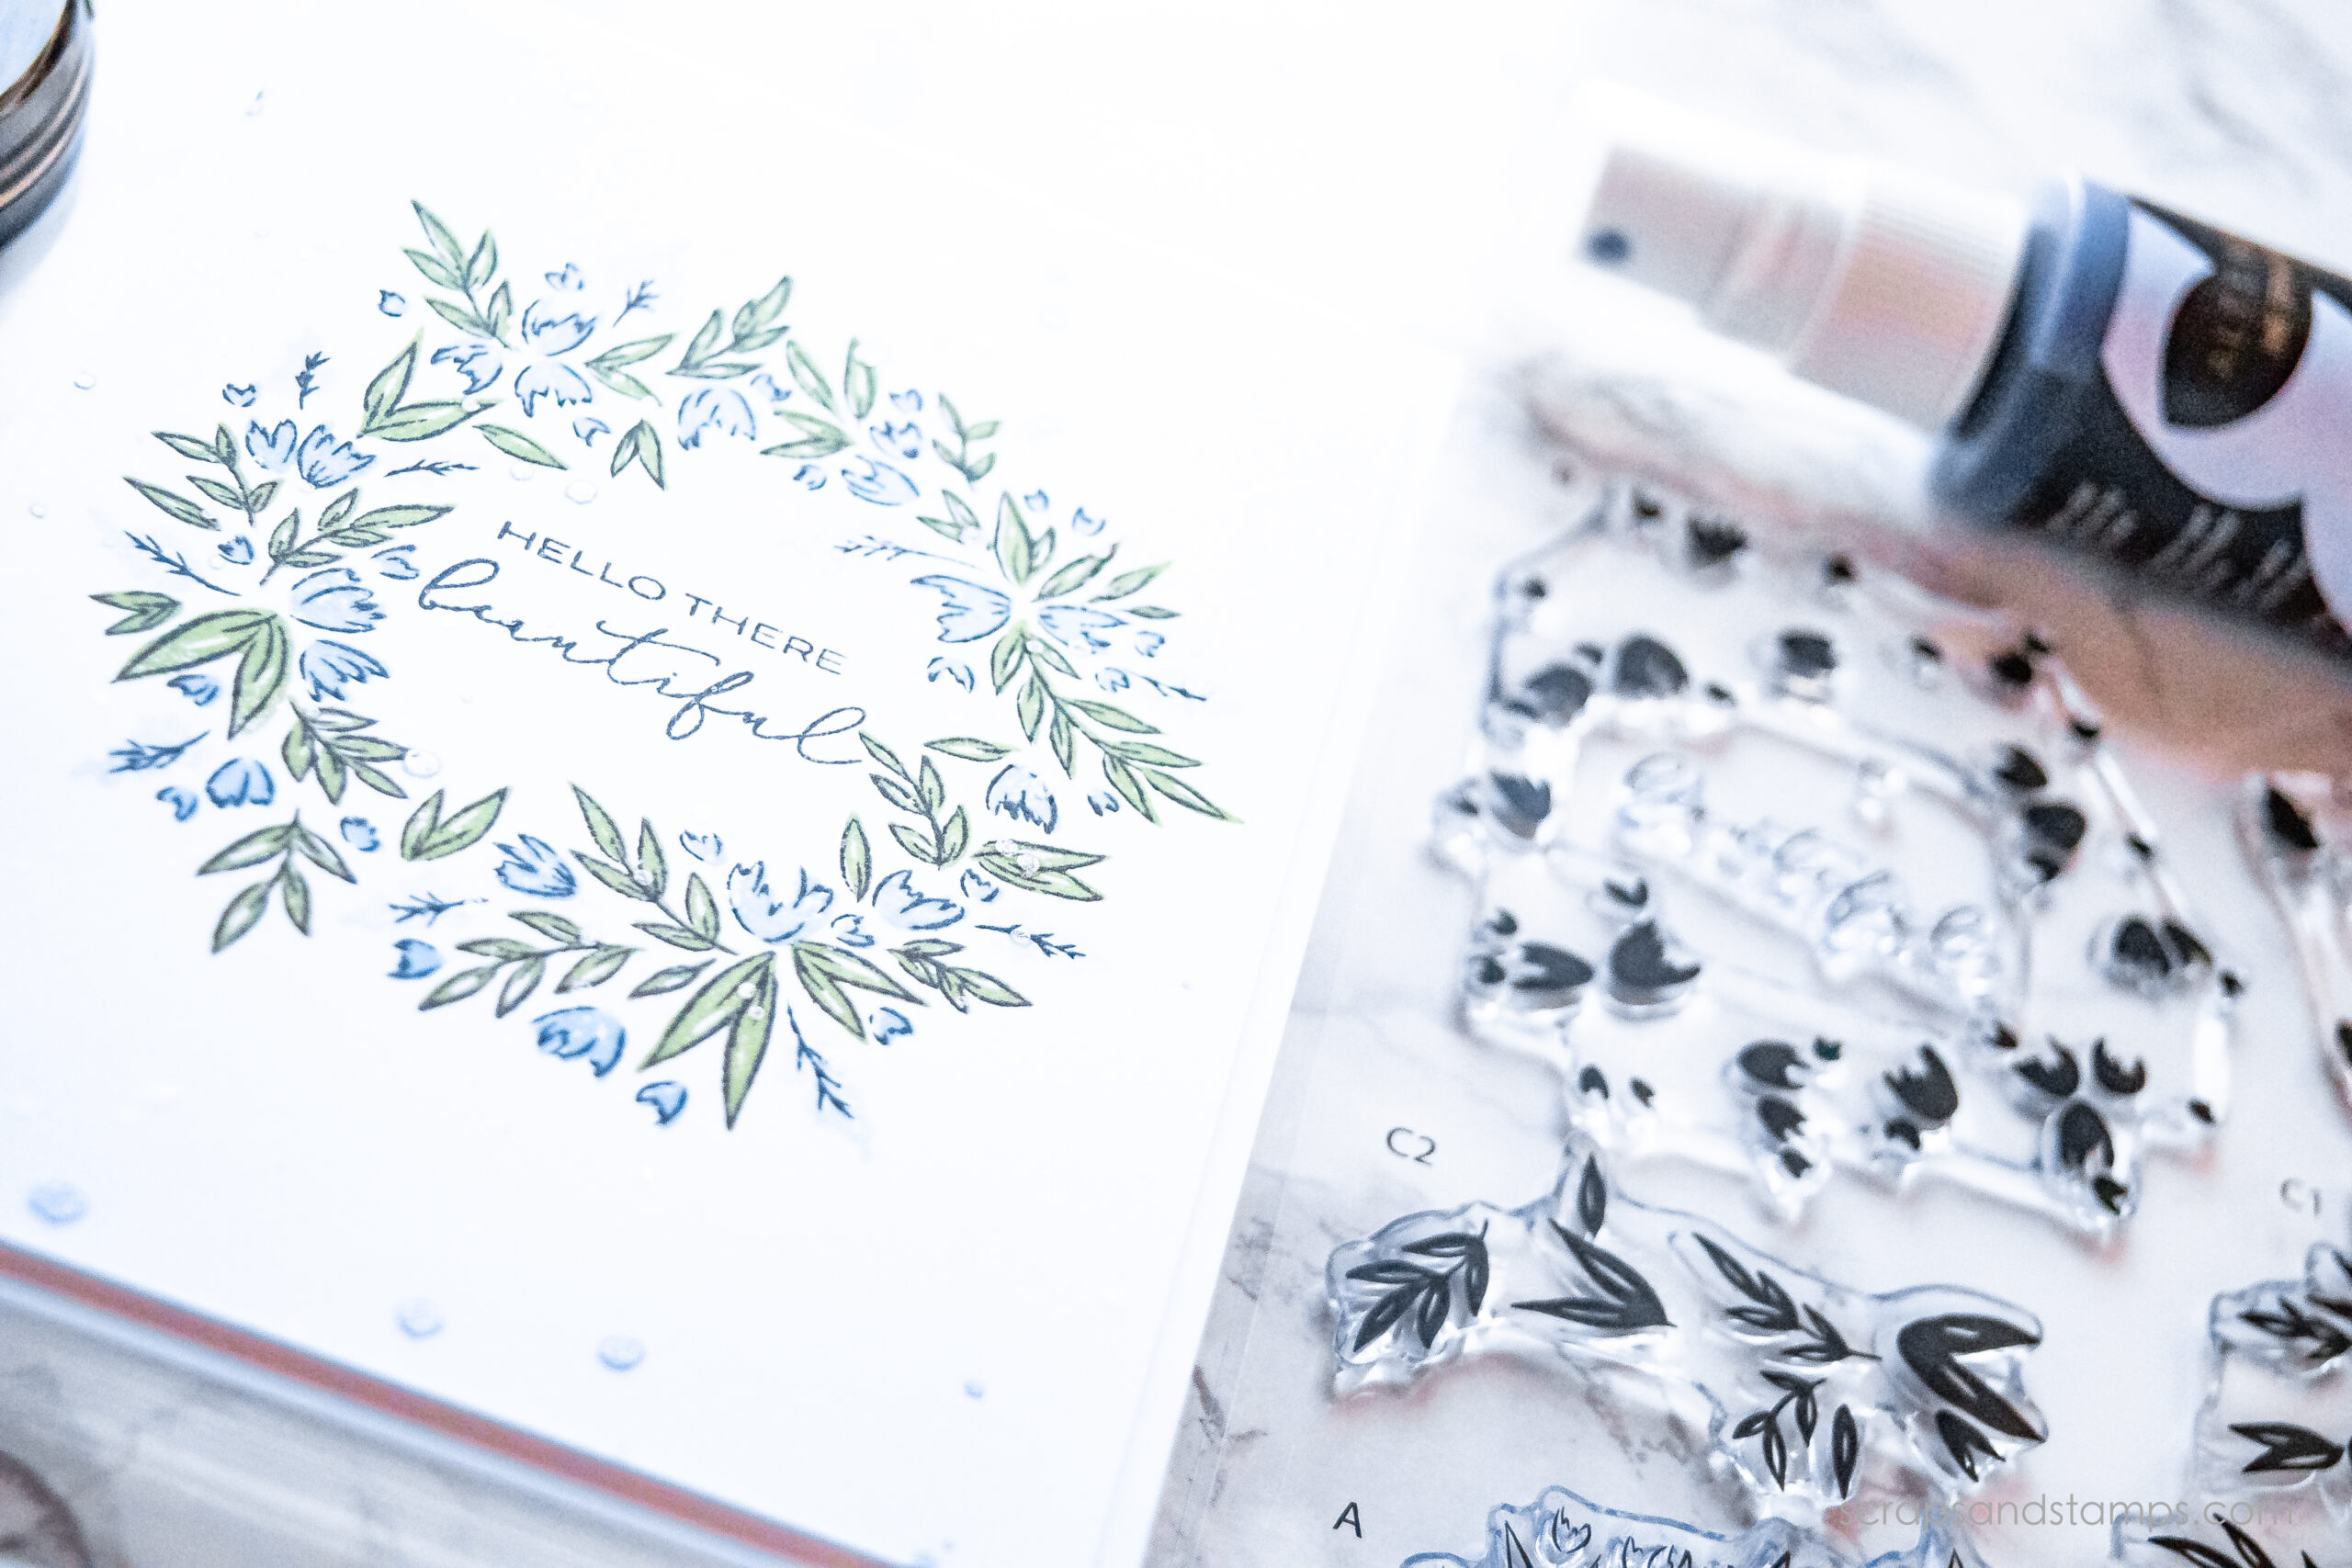
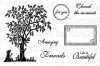
I fell it love right away with the Cherish Stamp Set – The shadow tree image with a girl can be used in so many ways. You can use it like I did over here to add colors on top of the shadow, or you can stamp it in a one solid color to pop out the shadow image. Black and white will create a nice, elegant look or you can heat emboss the image using different colors for lots of different look. Sky is the limit!
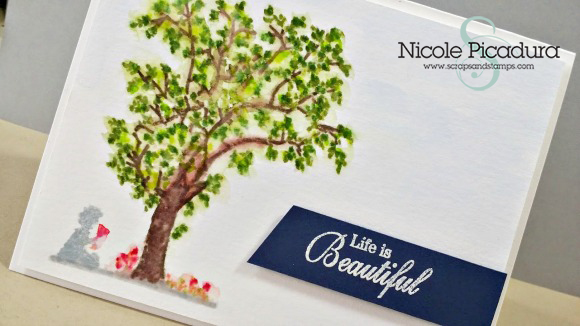
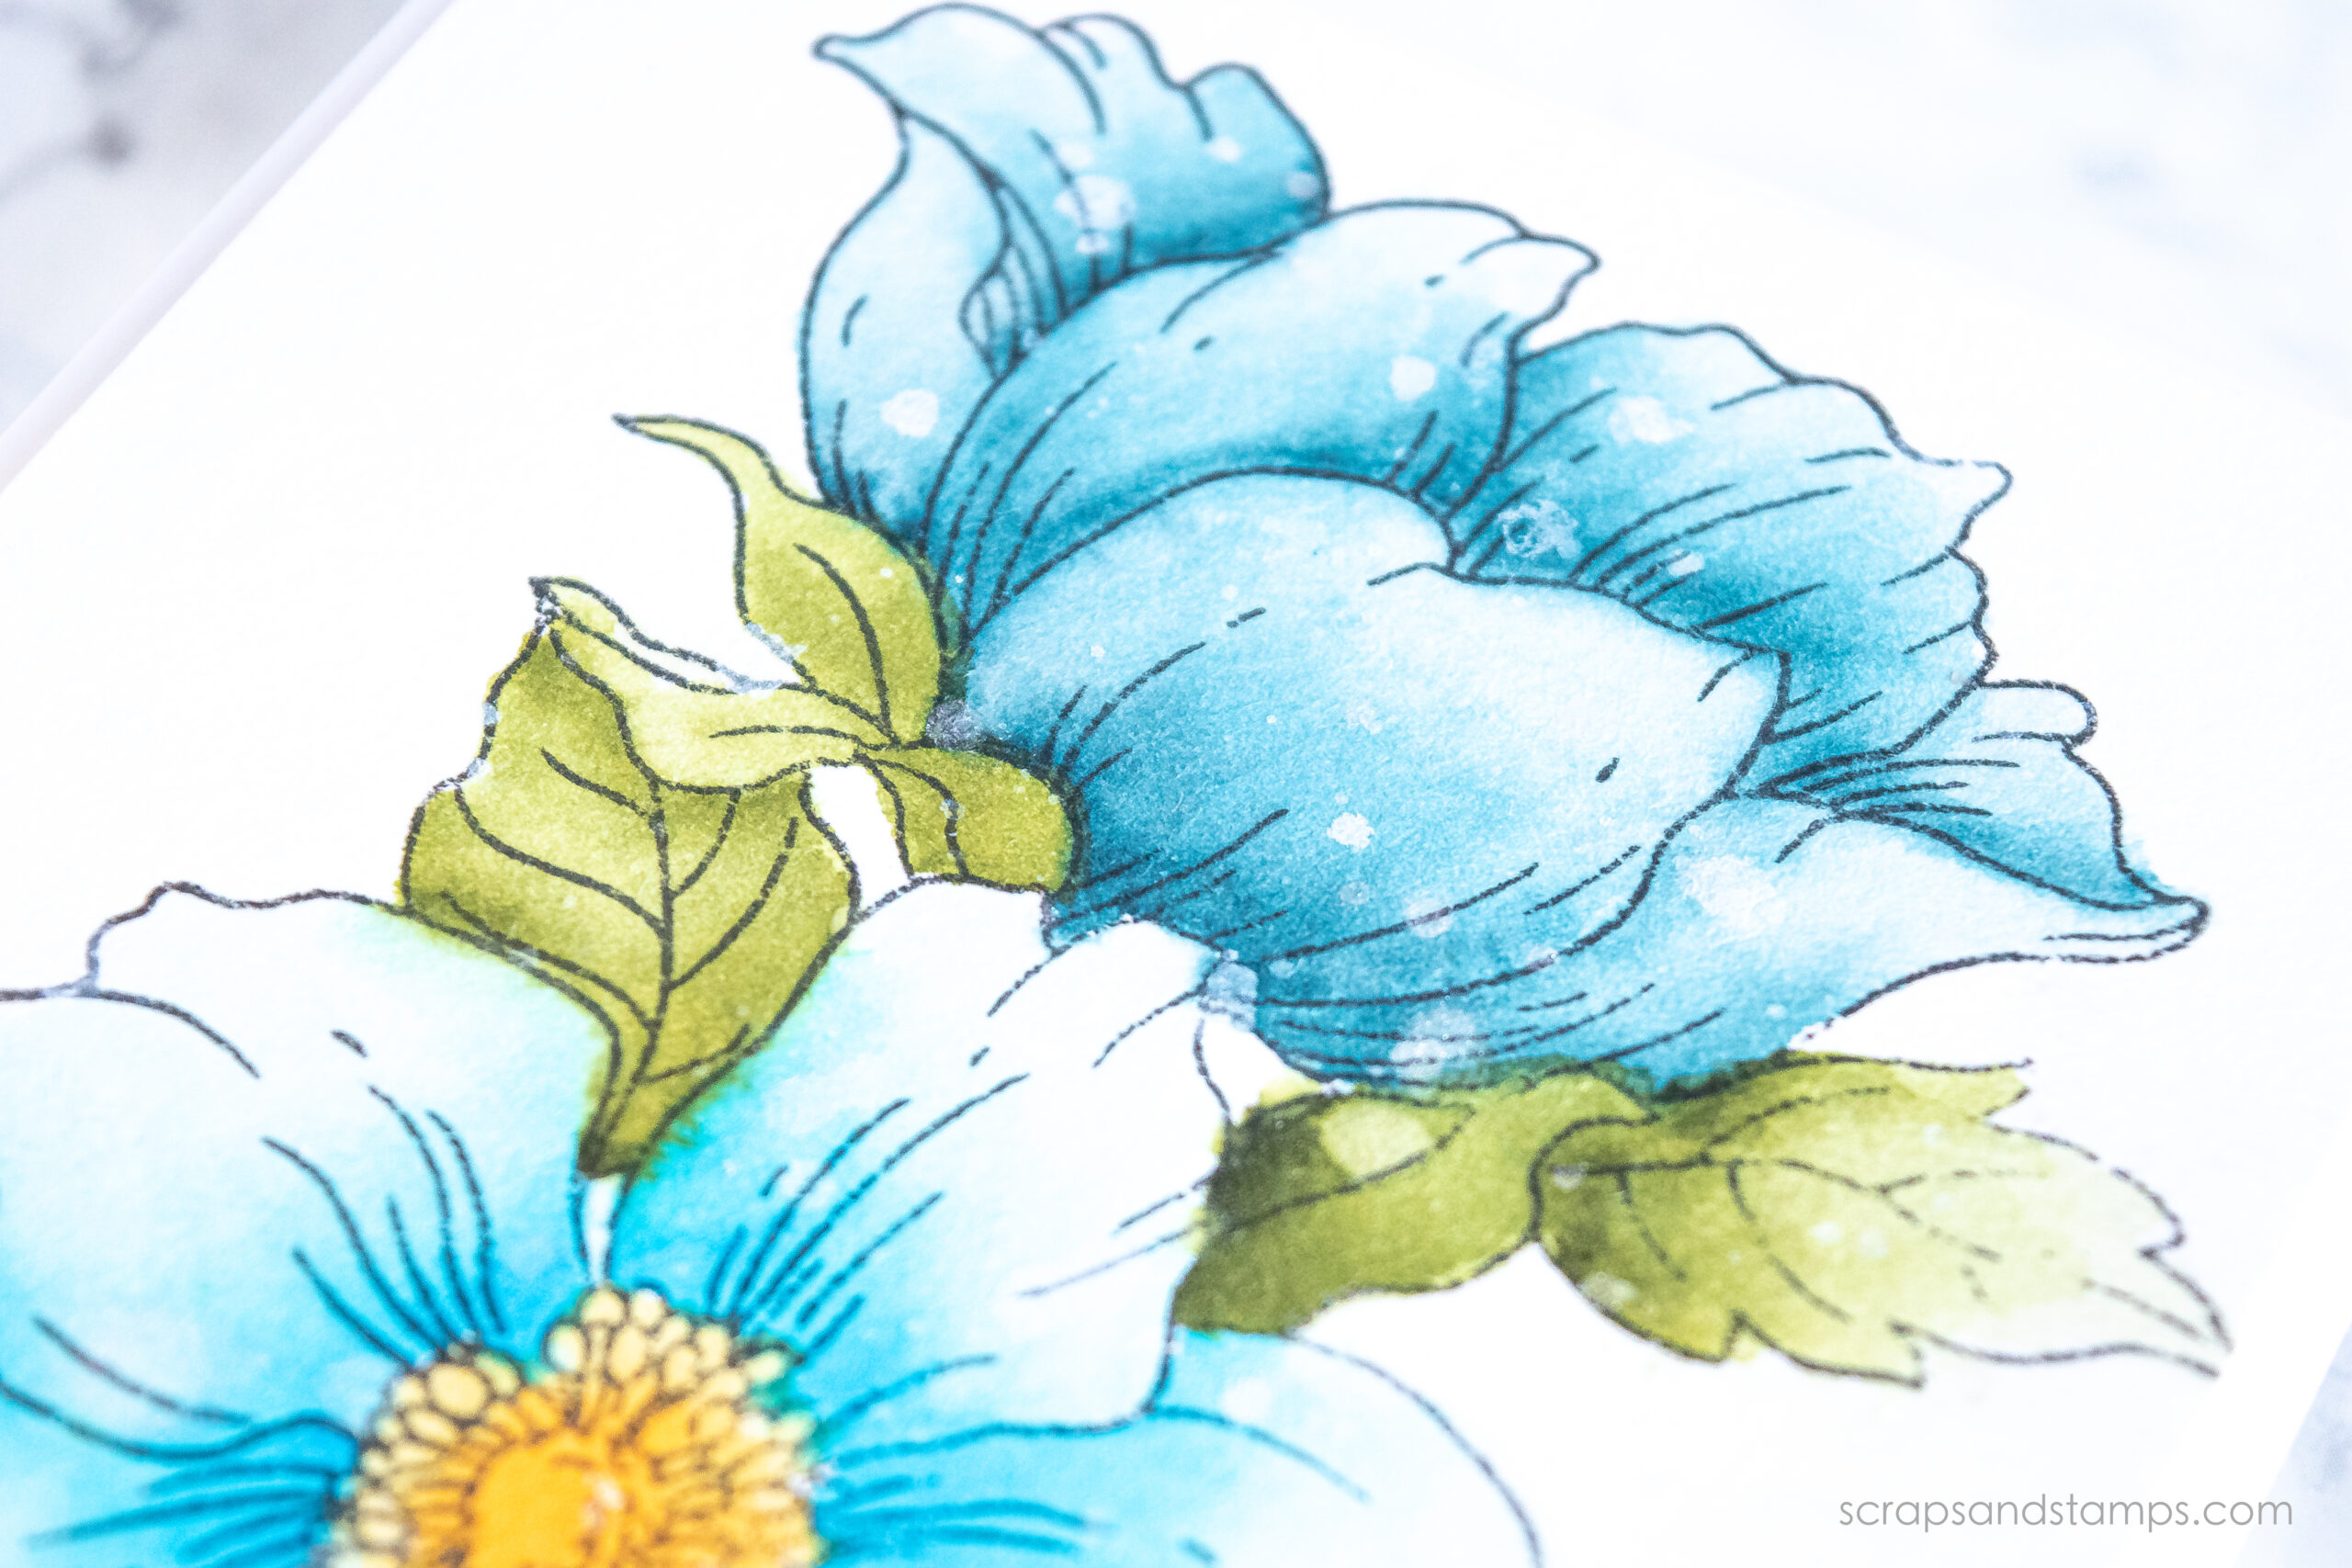
For today’s project, I used some of the Le Plume II markers. The ink of these markers tend to stay wet a bit more longer than other markers out there, allowing you to use water to blend the colors together. If you want a really washed out look, add lots of water, if you want more of a strong color with soft edges, simply tab the watercolor brush lightly onto the image.
Hope you felt encouraged to give this a try! There are lots of different ways to create watercolored look, so don’t be scared to deep your hands in it. Happy watercoloring!
                |